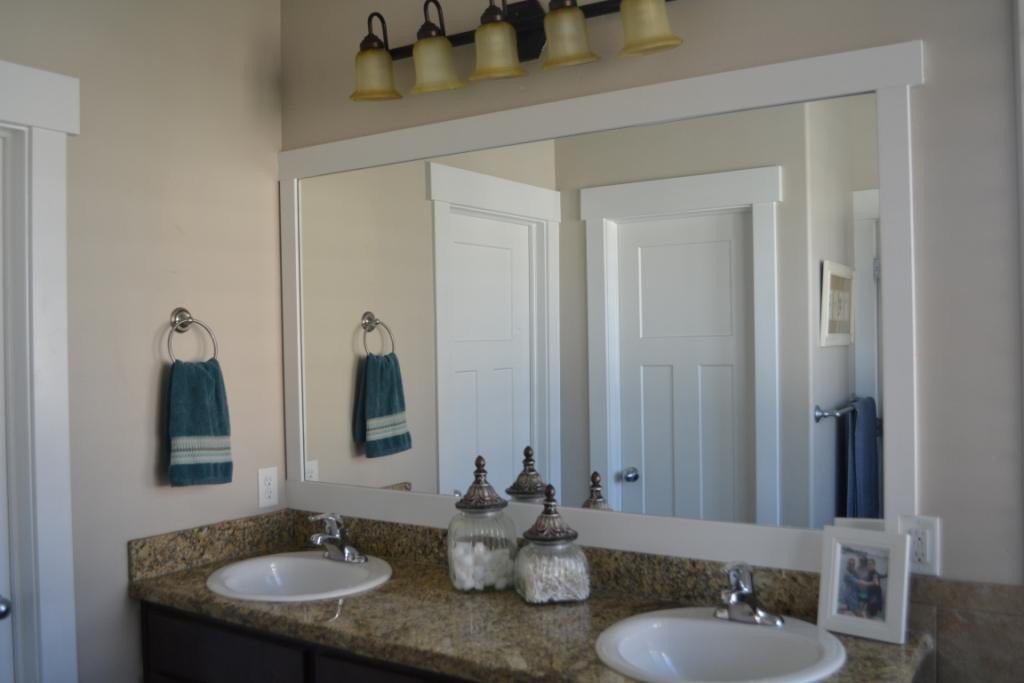
Next to the view having four toilets in this house is the best part of our home. If I could combine the view with the toilets I’d be a pretty happy camper. Since day one I have been a little bummed out (no pun intended) about the extremely builder-grade bathrooms. Framing out the mirrors really helped. For how technically easy this project was it seemed to take me a long time gathering and cutting materials, finishing and caulking. But in the end it’s so worth it, the bathrooms look more finished and brighter. And it was just $88 for four bathrooms! So worth it.
TWO IMPORTANT THINGS I LEARNED:
The first hurdle was how close the mirrors are to the lights and wall. It was impossible to just place the trim on top of the mirror. I had to cut a “rabbet” cut (recessed cut) into the trim so the board would cover the mirror AND lay flat on the wall. I used a saw in the wood shop, but this could be accomplished by running trim through a table saw or a router to achieve depth needed. Here is a pretty good video on how to cut a rabbet with a table saw, and a slightly more technical article on different ways to make a rabbet cut.
Paint before mounting. It’s a general rule really, but paint the board top AND bottom (the mirror will reflect it) before mounting and you will save yourself mounds of time.
You will need:
- trim of your choice
- paint, paintbrush, sand paper
- measuring tape
- panel adhesive or liquid nails
- painters tape
- level
- miter saw
- optional: table saw or router
1. Measure your mirror
2. Select trim. Try to match door frames and other trim in the house for a cohesive look.
3. Cut wood to size, remember to account for overlaps and electrical outlets, etc.
4. Rabbet cuts, if needed (photo of rabbet cut during gluing process)
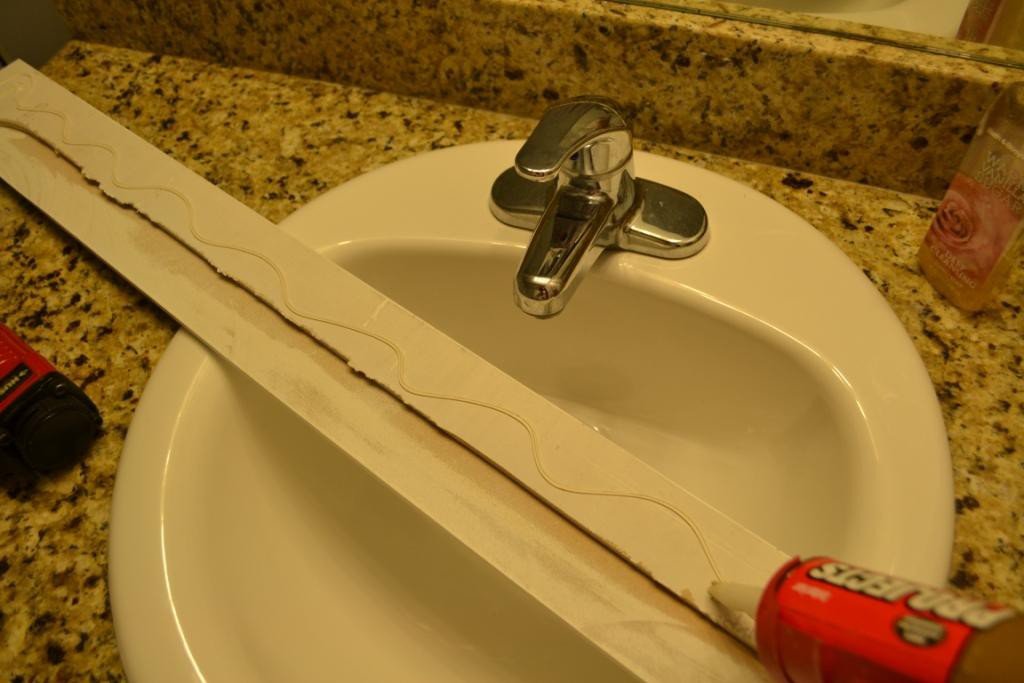
5. Paint front and back of trim, two coats, sand in between
6. Mount frame with panel adhesive or liquid nails, secure with painters tape or a brad nail gun (don’t nail the mirror!). Begin with the top trim. Next, sides, finally the bottom. Use your level and measuring tape to make sure you’re straight and square.


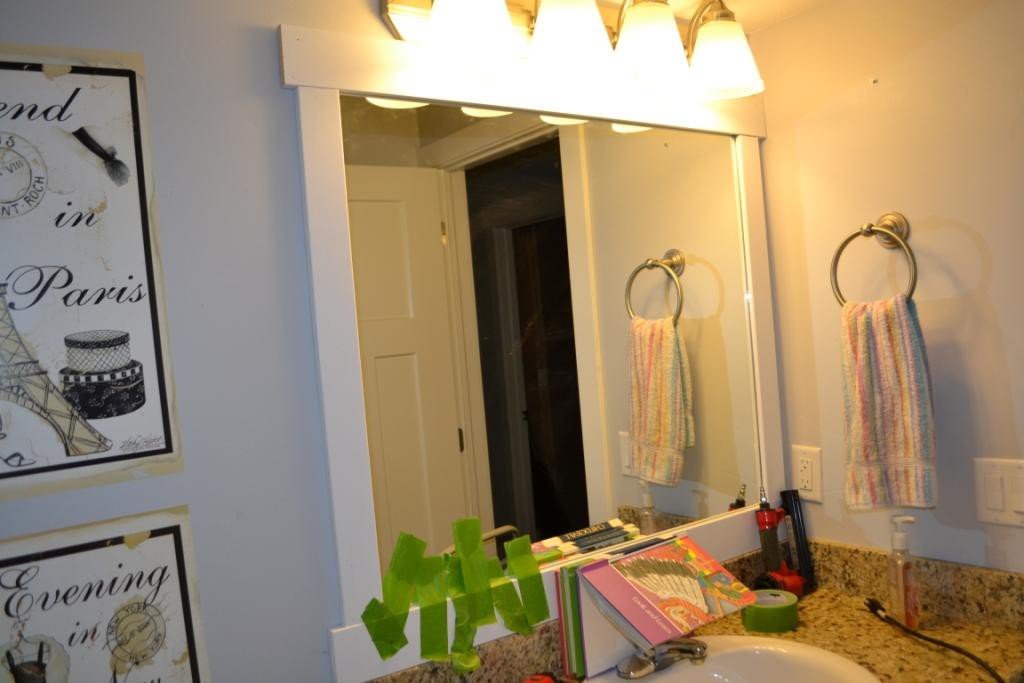
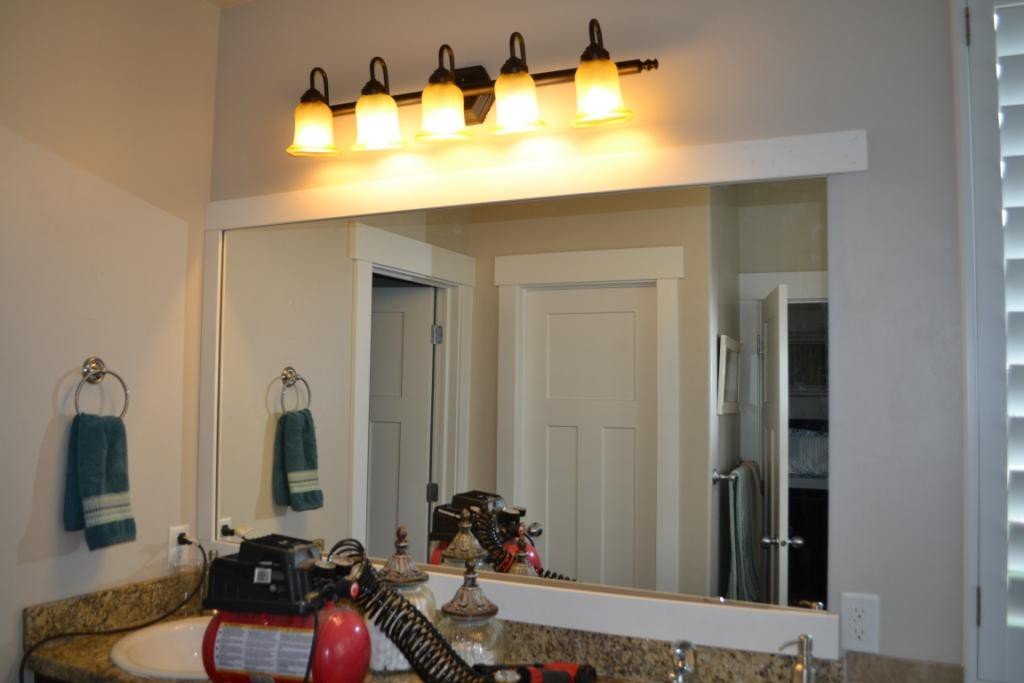
7. Caulk joints and between trim and mirror. If water seeps into your trim it can bulge and eventually warp the frame. This step takes a while
8. Apply any touch up paint needed.
9. Allow to dry for 24 hours.
Before and afters. By the way, cleaning all four bathrooms for an after picture seemed to take as long as the project itself!
Mater bath:
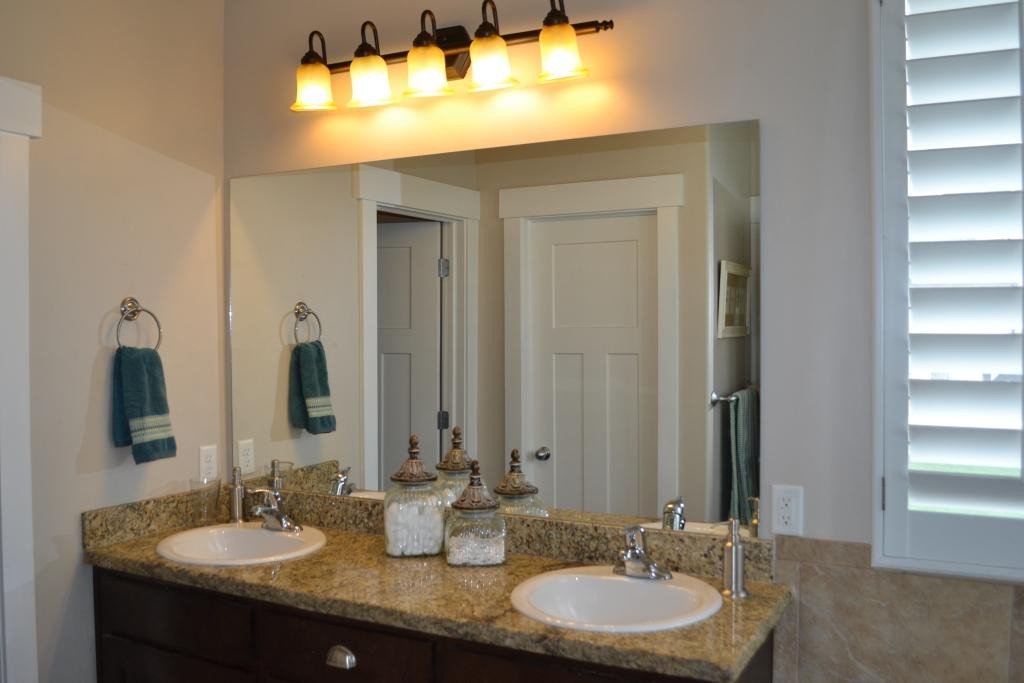
Front bath:
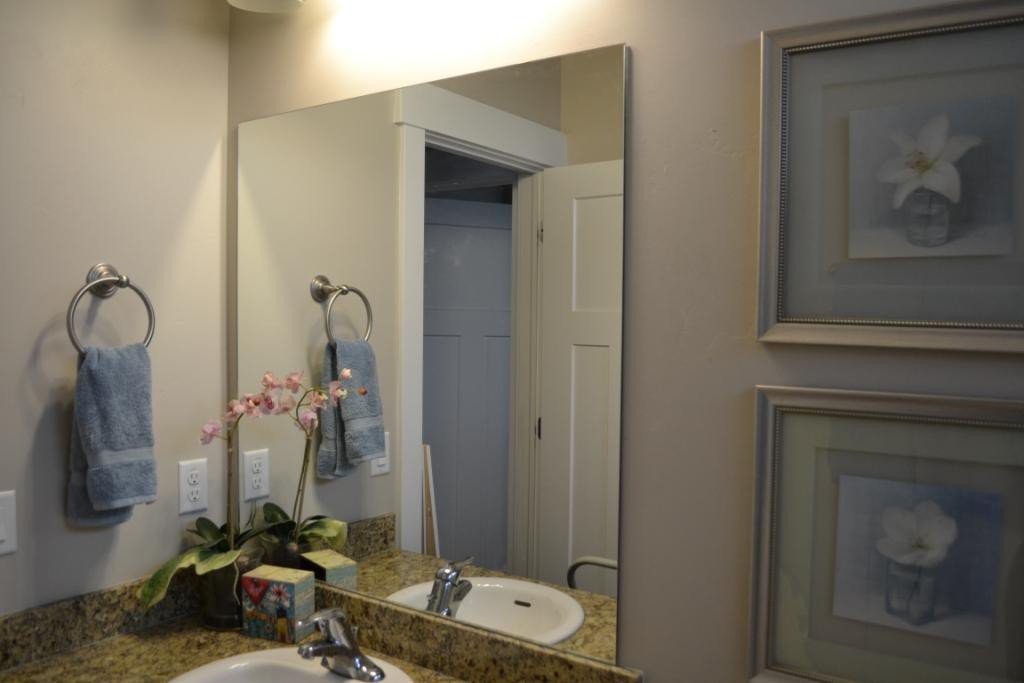
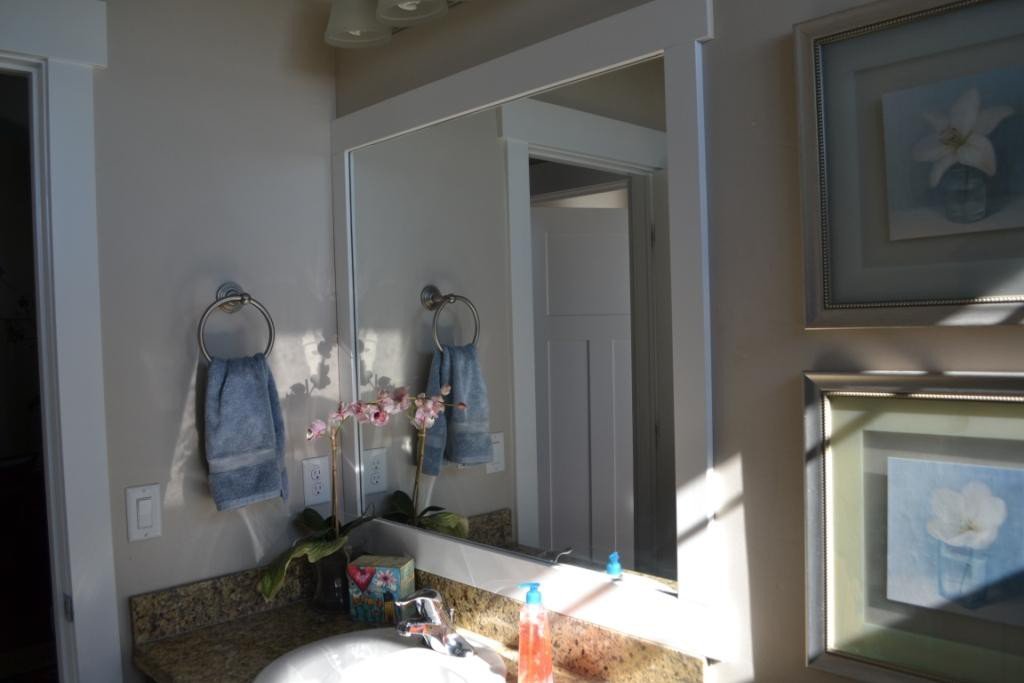
Boys bath (holy dirty mirror):
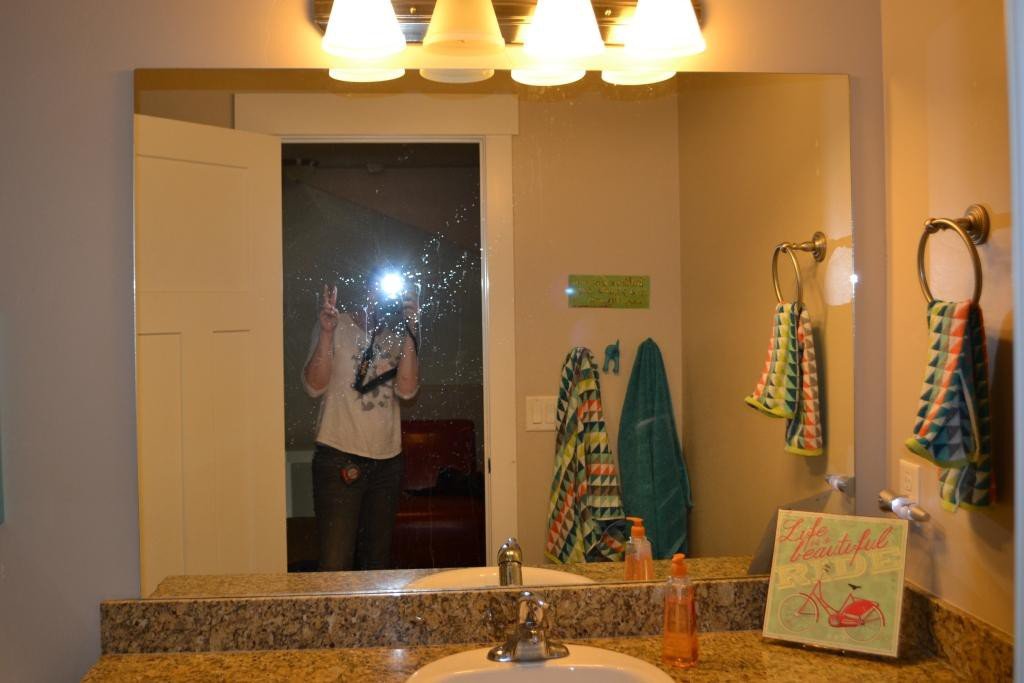
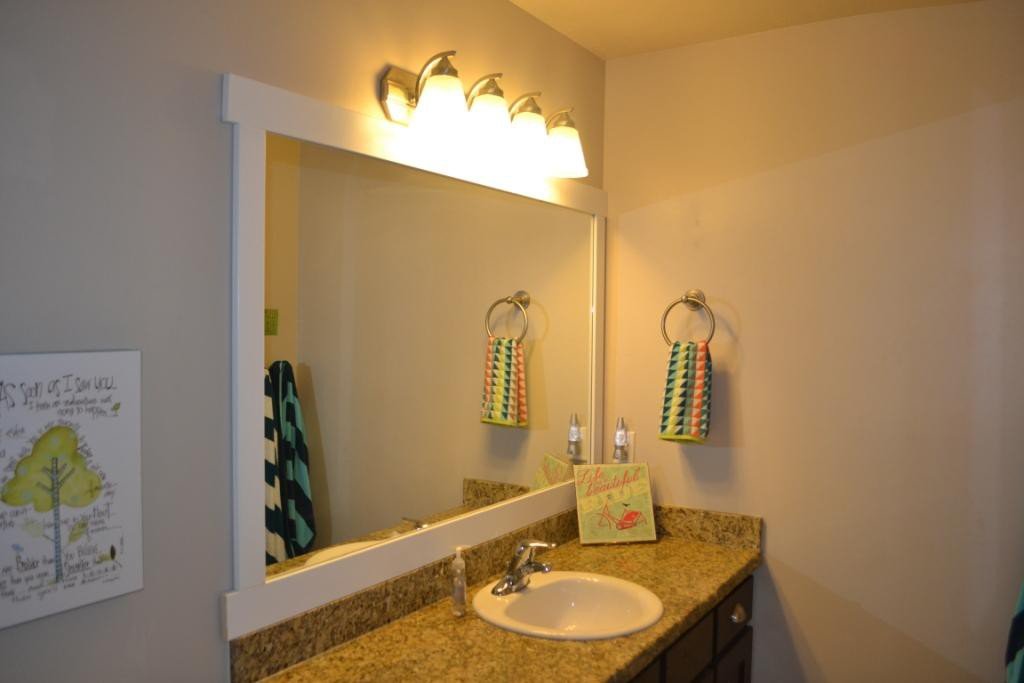
Guest Bath:
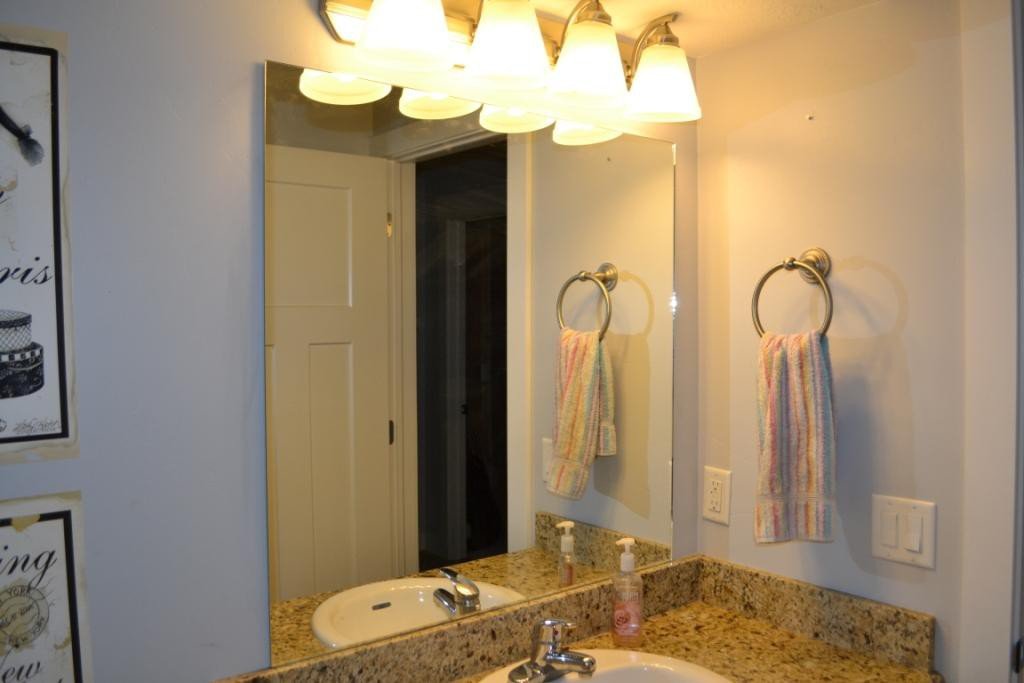
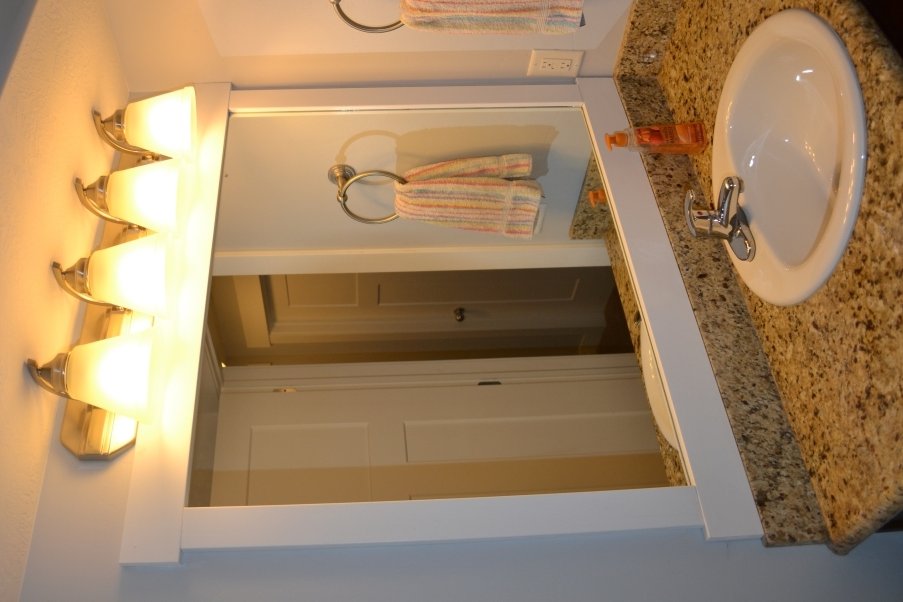
I was surprised by how much BIGGER and more finished the mirror and bathrooms feel with some trim. Please let me know if you have any questions! And you can always check out the tutorial on HGTV.
Have a great weekend and happy creating!

Leave a Reply