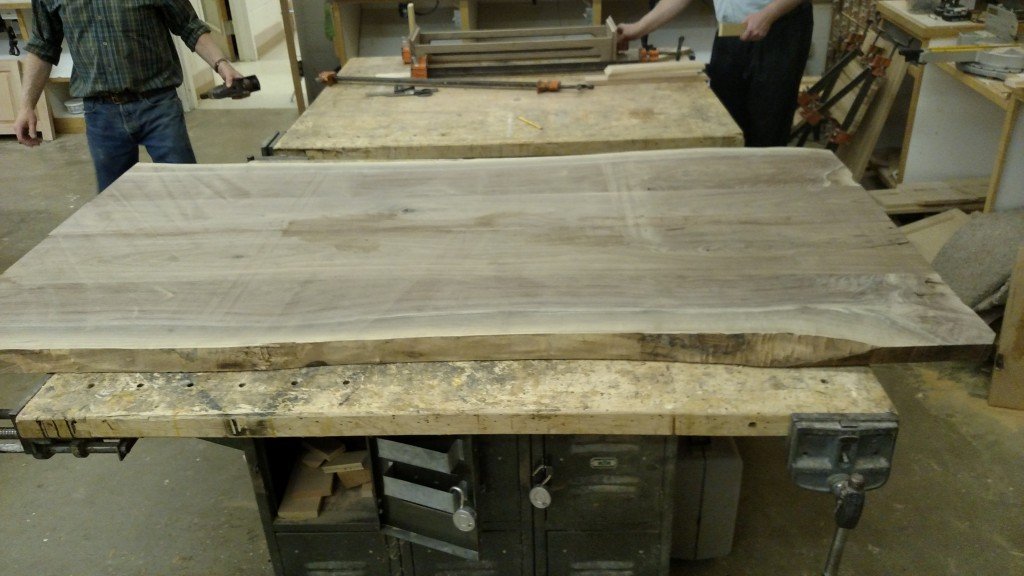
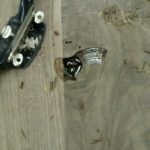
My continuing education teacher Sheldon is a rock star. He’s helpful, kind, and so knowledgeable. I haven’t done a lot of this true woodworking before, but he knows the ropes. After lots of work was done we assembled the table to inspect it before gluing. Because the table is two inches thick it was clear I needed reinforcement when gluing so Sheldon taught me know to keep the table level by putting in “biscuits”. Check out a biscuit joint tool.
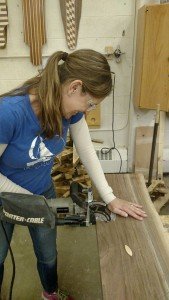
My husband came to join in the heavy lifting fun this night and joyfully took pics because in our entire marriage (actually my entire life) I have never made biscuits before that evening. He was pretty excited- I guess there’s a first for everything.
After making biscuits it was time to glue. We decided to glue the project in two parts so when the two halves were glued it would be narrow enough to still run it through the planer. Glue and brace:
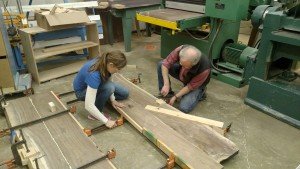
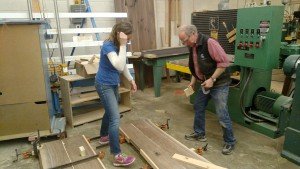
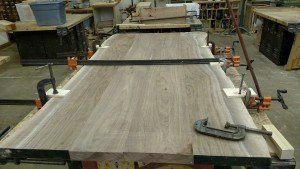
The project dried for a few days and then Thursday night class was a banner night. I hand planed and smoothed out the table for almost four hours. I planed. And planed. And planed. And you wanna know the craziest thing? I liked it. My arms a sore though, I’ve gotta be honest.
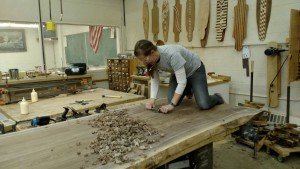
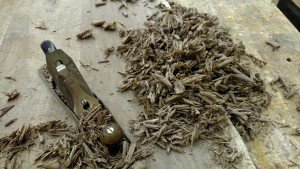
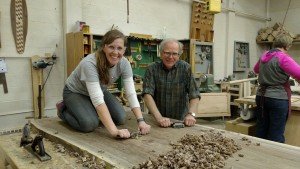
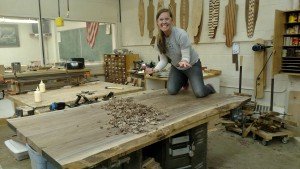
After hours of work using a jack plane, then a smooth plane, then a spoke shave (all new tools for me) Sheldon came to check my work. After careful inspection there was one part to fix but he said, “I am just proud as punch with the work you did tonight.” People, I felt so freakin cool, it was the best compliment ever.
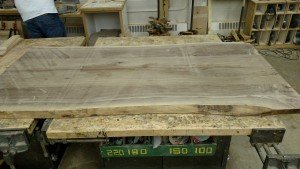
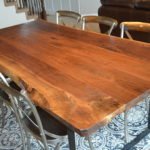
Next steps, order the base from a welder (I wish I could weld!), then sand my arms off and then lacquer the beautiful beast. I am learning so much during this project that these posts are a far cry from a detailed tutorial, but, if you have any questions about the process ask and I’ll try to answer. Or at least I can ask Sheldon during my next class for you!
Happy Creating!
Did not see this page. 🙂 I can see more of your process now!
Feel free to comment more with any questions! Thanks xo