Snowboard Storage Rack — D
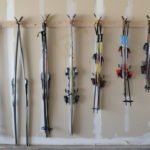
Add snowboarding to my list of loves. I crazy love being on the mountain! I taught snowboarding at Winter Park in Colorado and despite my disdain for being cold, snowstorms make me giddy. A season pass is the best remedy to any snow storm or cold winter. I’m jealous the east coast is getting pummeled with snow this year and we are so, so dry! Last year I built a DIY ski rack, this year I’m adding a simple $10 snowboard storage rack. It’s not fancy, but it does the job spectacularly. And ten dollars!? Who can resist that! In addition to a detailed how to list I’ll be adding plans for the racks soon.
Material list for snowboard storage rack:
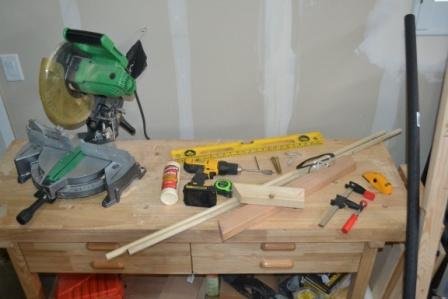
- 2 x 3 x 6 board (1 x 3 x 6 will also work)
- 3/4″ dowel: Two pieces 48″ length each (total of 96″)
- different stores sell dowels in different lengths, make sure you have at least two 14″ pieces for each snowboard, so at least 84″ total length
- 3/4″ drill
- Power drill
- Miter saw
- Measuring tape
- 4 Screws (4″ inch wood screws)
- Wood glue
- Foam wrap (optional, located with PVC pipe)
- Stud finder (if needed)
- scrap wood for a jig
Snowboard storage rack tutorial:
Time commitment: One hour
1. Cut the 2 x 3 x 6 board in half, at 36″
2. In the middle of the board width mark each board at 5″, 18″, 31″. This is where you will drill holes for the dowels.
3. DECIDE if you want the dowel to attach at an angle, or if you want it straight/flat at 45 degrees. If you want to have the rack straight out (like an L) skip the jig part and go to step 5. My racks are built at a 20 degree angle.
4. Use scrap wood pieces to build a jig. Without a drill press or the right equipment, I had to make one basically using this guy’s YouTube video.
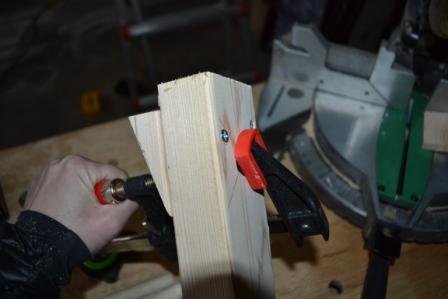

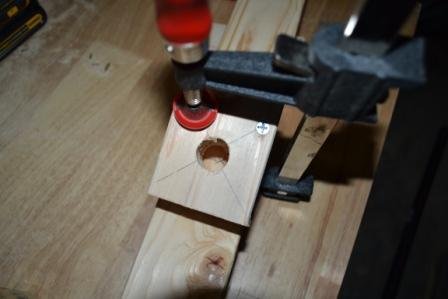
5. Drill a 3/4″ hole on each board at 5″, 18″, and 31″
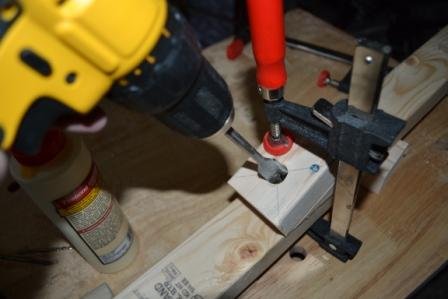
6. Cut dowels into six 16″ pieces. These can be longer if you have the space, but don’t go shorter than 14″.
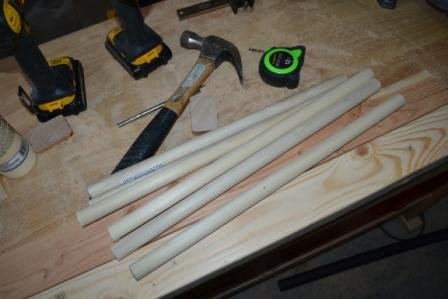
7. Apply a little wood glue to the inside of each hole and insert a dowel.
8. Cover each dowel with foam wrap, the foam wrap will just slide on. Note, even though I used 3/4″ dowels the 1/2″ foam wrap fit much better.
9. Hang the rack about 24″-36″ apart, drilling directly into a stud (don’t hang on drywall!). If you can’t see your studs in the drywall like I can, make sure you use a stud finder.
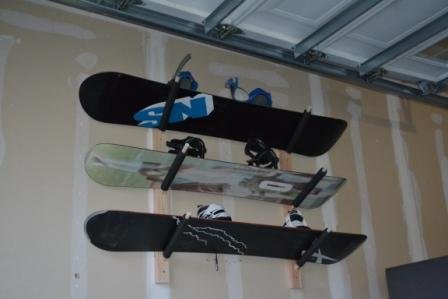
10. Place those beautiful snowboards on the racks, stand back, admire, and then feel awesome. You’re done! $10 never looked so good.
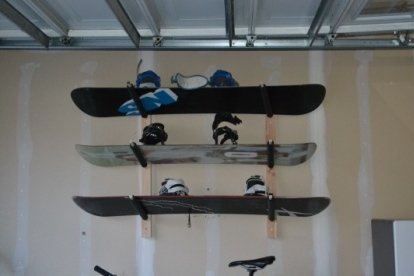
Now, take those snowboards down and hit the mountain! Watch for free building plans for these snowboard storage racks.
Happy Creating! I’ll see y’all on the mountain!
Hey! Wanna see the latest and almost-greatest projects, plans, and more!? Join the DIY part-ay on Facebook, Pinterest, Instagram.
Leave a Reply