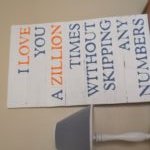
Yesterday I posted on a word sign I made for my sweet talking four year old. He’s the picking-flowers-for-mom-all-the-time kind of guy and says the coolest stuff. I wish the process was as smooth he is, but alas, it was quite painful. He thinks it’s awesome, so it was all worth it!
It started out great, separating the pallet wood and wood gluing it together with clamps like I did when I made my bracket frame.
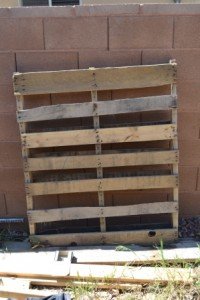
I cut, sanded, primed (needed when using raw wood) and painted the board:
Then everything started to go south. I cut out the words with a borrowed Cricut machine, but made the words too big and ran out of vinyl. I resorted to paper and that was a big mistake. It was hard to get the letters out without tearing and then the spray paint I had bled right through… so I resorted to toll paints. Not the brightest idea, but it was the cheapest idea I could think of (.50 each) and I could choose the colors. I taped the paper stencil to the board and painted.
The colors bled all over and I had to touch up each one.
In the end I was happy with it, but here is what I learned:
- primer is a big plus when painting onto raw wood
- use vinyl lettering so you can spray paint OR stencils
- toll paints flake off a little and you need a few coats
- if you hand paint coat the project with a spray paint sheen or a polyurethane when it is totally dry
- consider a printable! hahaha
Hopefully the above pointers will help you avert disaster! All you savvy DIYers out there feel free to comment any other pointers. I promise I won’t feel picked on!
Happy Creating!
Leave a Reply