With the dresser finished for baby g’s room the bed was next. Since I gave her crib away when we moved my little one has been sleeping on her crib mattress on the floor. It just makes me sad to see this each morning:
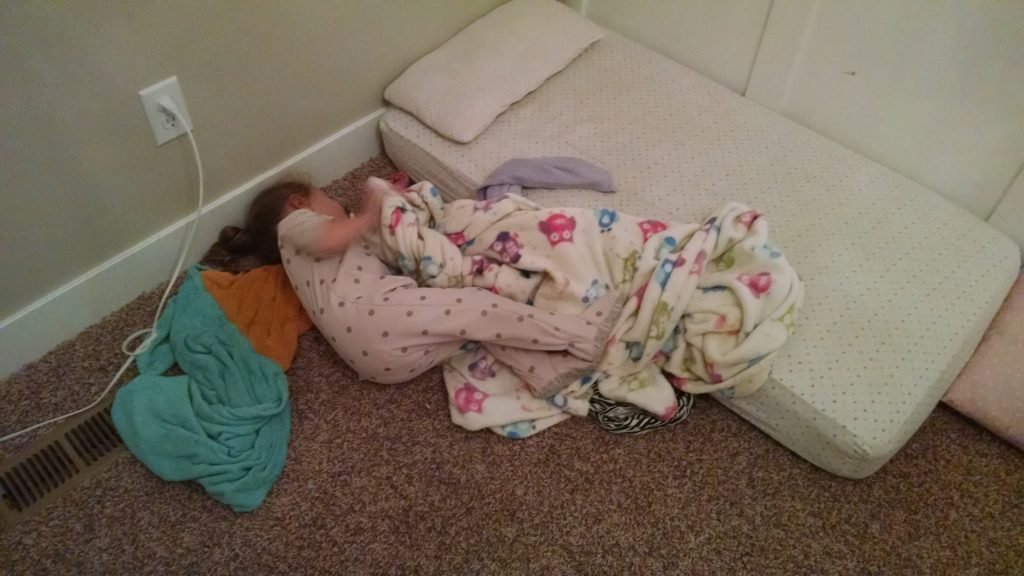
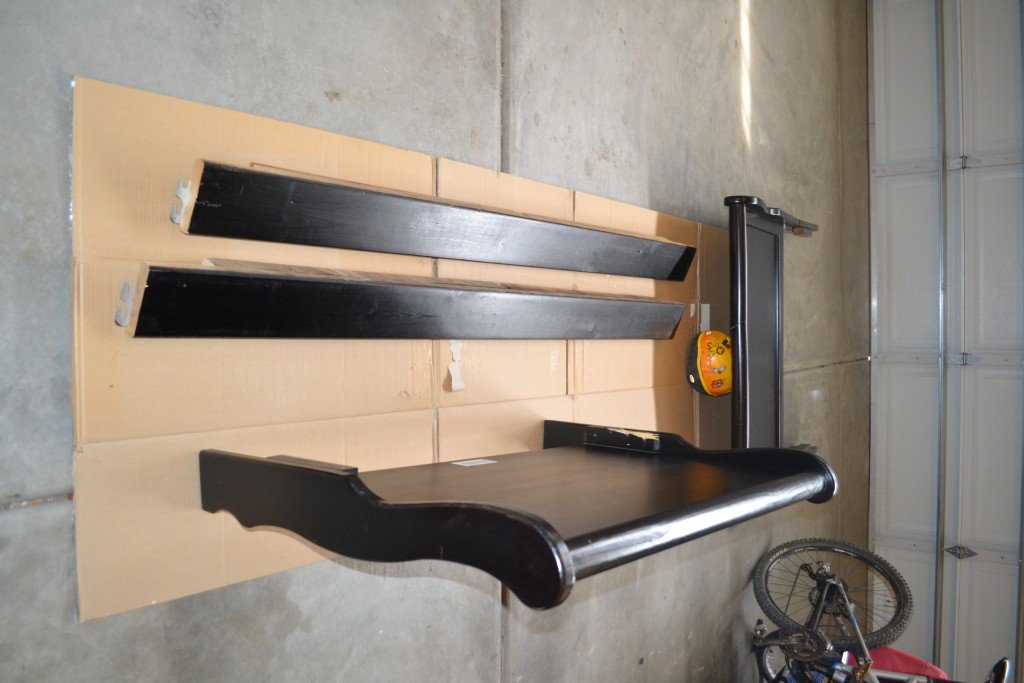
Poor little one. Luckily, my sister and I traded old furniture. I swapped a queen sized mattress when we upgraded to a king (which is a dream come true) and she gave me this bed frame her son had outgrown. It was black and broken, but the bones were so cute.

Before painting this beauty it needed to be fixed. There was a crack in the top and a broken frame piece.

I used gorilla wood glue and pressure to fix the crack. An old carpenter once told me that “glue is stronger than nails”, not sure how true that is, but wood glue can be very strong. I glued the crack and used brackets and weight to allow it to seal together:

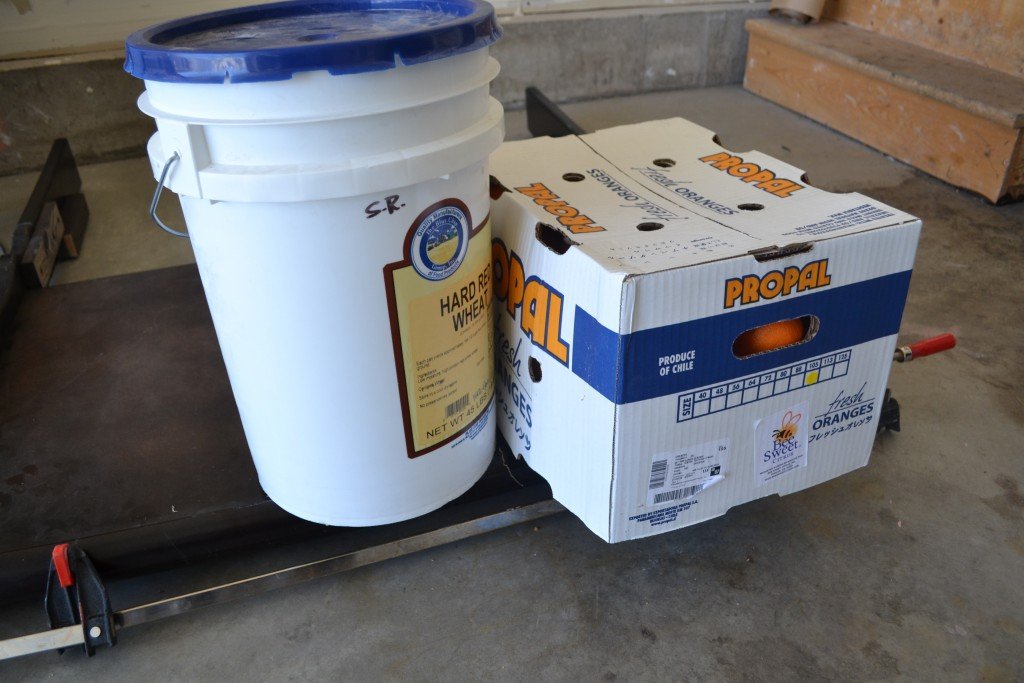
This isn’t carpentry at it’s best, but that bucket of wheat and box of oranges weighed about 80 pounds total and put enough pressure to allow the wood glue to work it’s magic. I let this sit over night and voila! Crack repaired.
Next the broken frame piece. This had to be completely remade.

I started by measuring and finding the right size dowel piece:

I cut a 2×4 down to size, cut the middle with a table saw, and drilled holes for the dowels, using the original broken bracket piece as a pattern. Here’s what it looks like attached:

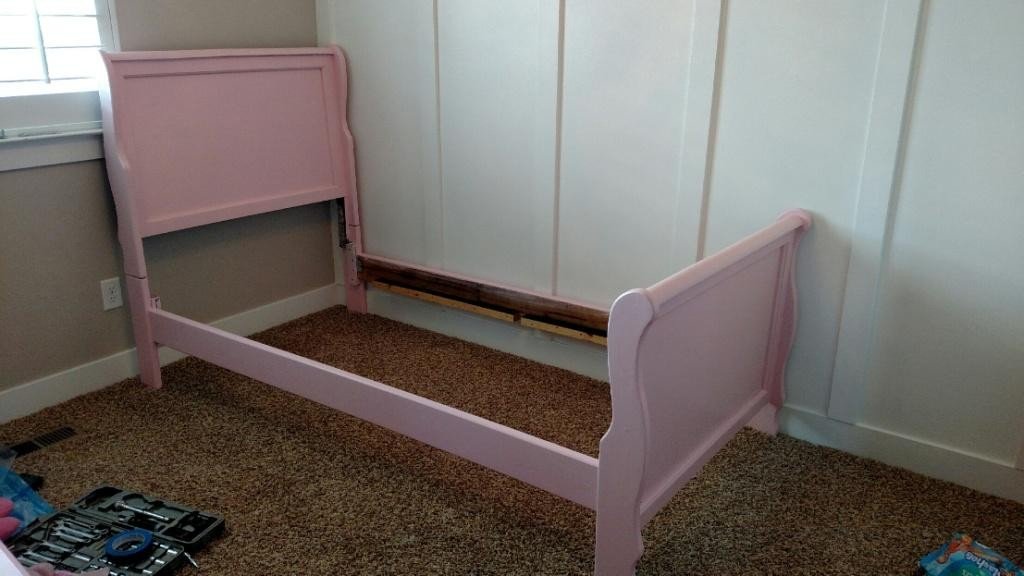
And finally, painting. I used the same steps for the bed that I did on the dresser and my yellow table. Check out the table post for the best step by step instructions.
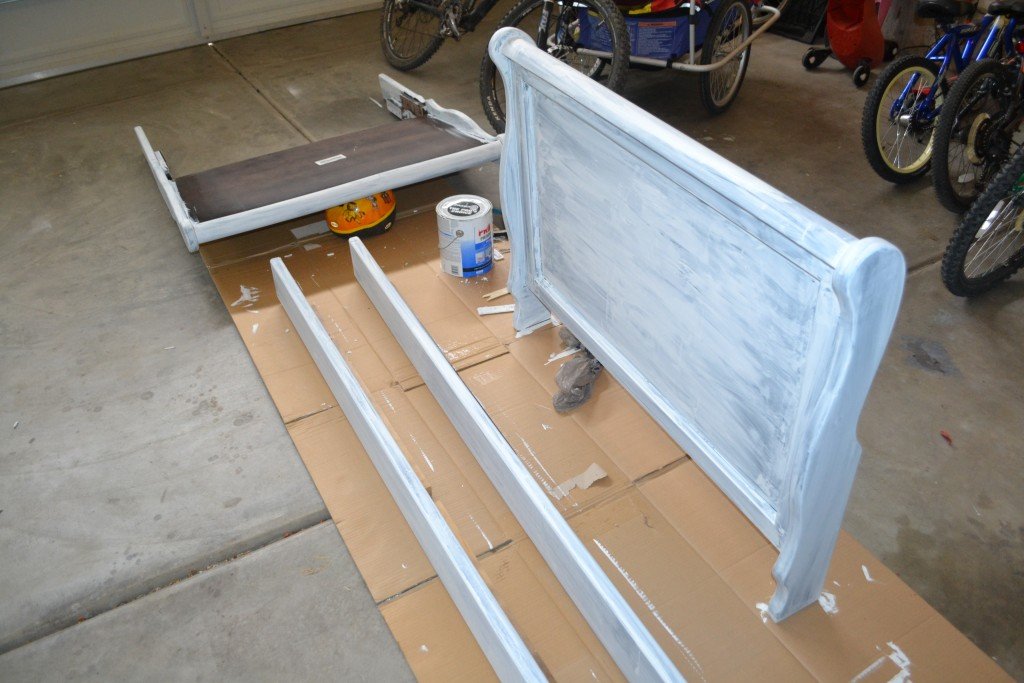
Almost done:
AFTER
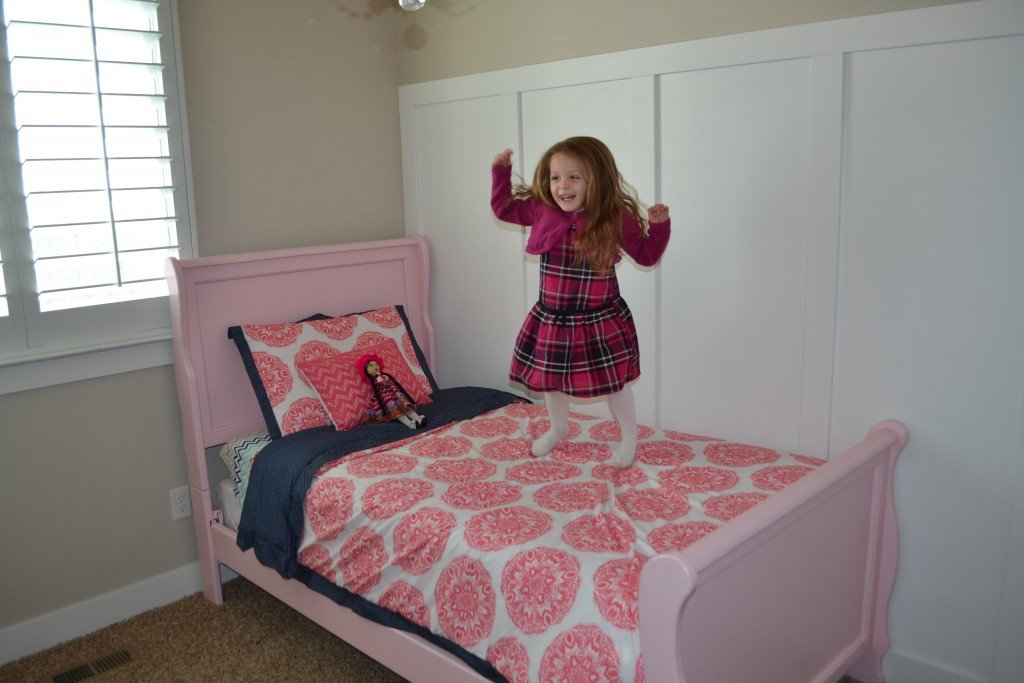
The room is coming along and is now sufficiently pink. Best part is, my baby is in a big girl bed. I couldn’t be prouder.
Happy Creating!


Leave a Reply