Archive of ‘Home Improvement’ category

Nothing says love like storage! If you’re looking for a Valentine’s Day present for yourself or your heart throb, look no further. Flowers die, food gets eaten, storage is forever.
We are garage people. Like, we really, really use our garage. Storage, toys, tools, and cars (most of the time). I am constantly cleaning, organizing and dreaming about ways to use the space better. I built overhead storage at our previous house, which was a life saver, so when Fleximounts approached me with an offer to install theirs I was up for the party. Here’s my garage before (so embarrassing!):

This process of installing a storage kit was a lot simpler than building from scratch, but with our crazy high ceilings the installation still took a long time. Right off the bat this is a two person endeavor for sure and I definitely needed a helper. My husband was up for the job, he is pretty rad like that and is rarely jostled by my get-the-kids-to-bed-and-work-all-night projects. And as always my favorite four-year-old helper was close in tow to lend an extra hand.

The real trick to this installation is finding the right location, access to studs, and deciding how big to make the adjustable storage. I wanted the storage as big as possible so stacking two coolers or storage bins would be easy. You’ll need these tools for installation:
Tools: Tape measure, Drill, saw, Stud finder, Ratchet/Socket wrench (this is installed with a hex bolt/lag screw, really strong fasteners)
The racks come with installation instructions, but the basic process has three steps:
- Locate the perfect spot: Take into consideration location of ceiling joists or studs. head clearance, garage doors, exterior doors, walkways, windows, and cars parking. Remember you can also hang items from the bottom of the rack, so you may not want to put it over cabinets like I did.
- Follow installation instructions carefully- attach the braces into the studs and then and make sure you have a buddy on hand to at least lift and secure the bottom plate.
- Load items with care. Bad back people you know who you are! It’s kinda hard to go over the weight limit, but keep that in mind. I guess if you’re loading some pewter statues up there you might want to weigh it before hoisting it up. You’ll be surprised how much “normal” storage fits!


This unit is really big, it took my husband and I together about four hours to install. Which incidentally is less time than it took to assemble a play kitchen on Christmas Eve, but that is painful story for a different day. I blame the insanely high ceiling for the amount of time, but still, set aside a few hours before you tackle the project.


My favorite feature is being able to hang the huge jogging stroller from the bottom, especially in the off season when I rarely use it. Also, words can not express how happy I am to not be stepping over my son’s green kayak anymore.

This project is worth it! Overhead storage is the greatest. Check out Fleximounts for this and other storage products and more information.
Happy Creating!
Storage rack materials were provided by Fleximounts, opinions are my own.
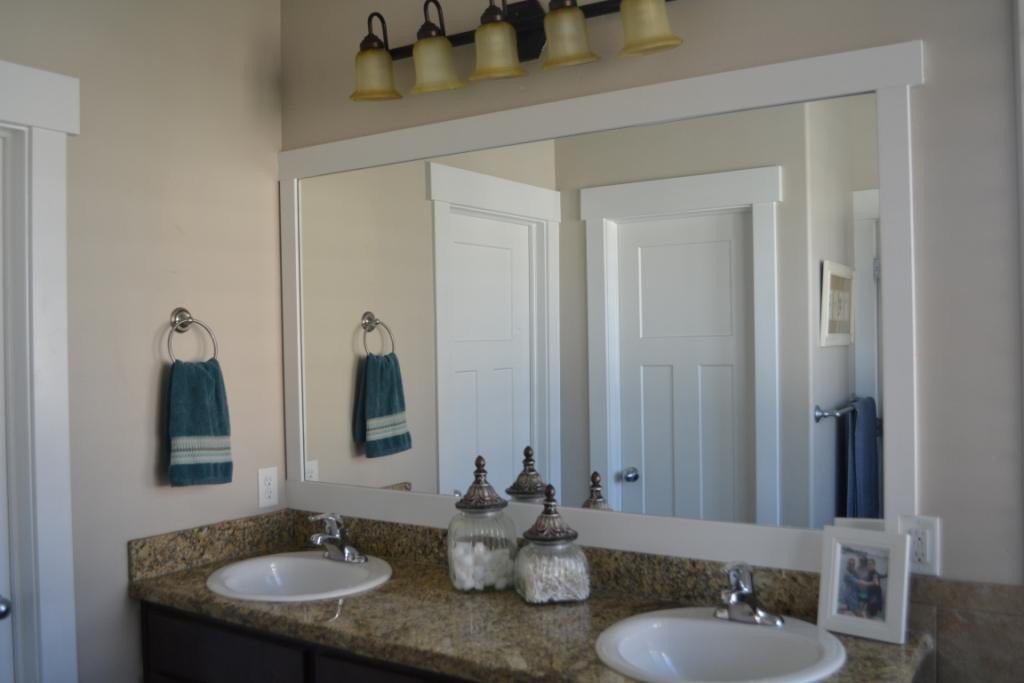
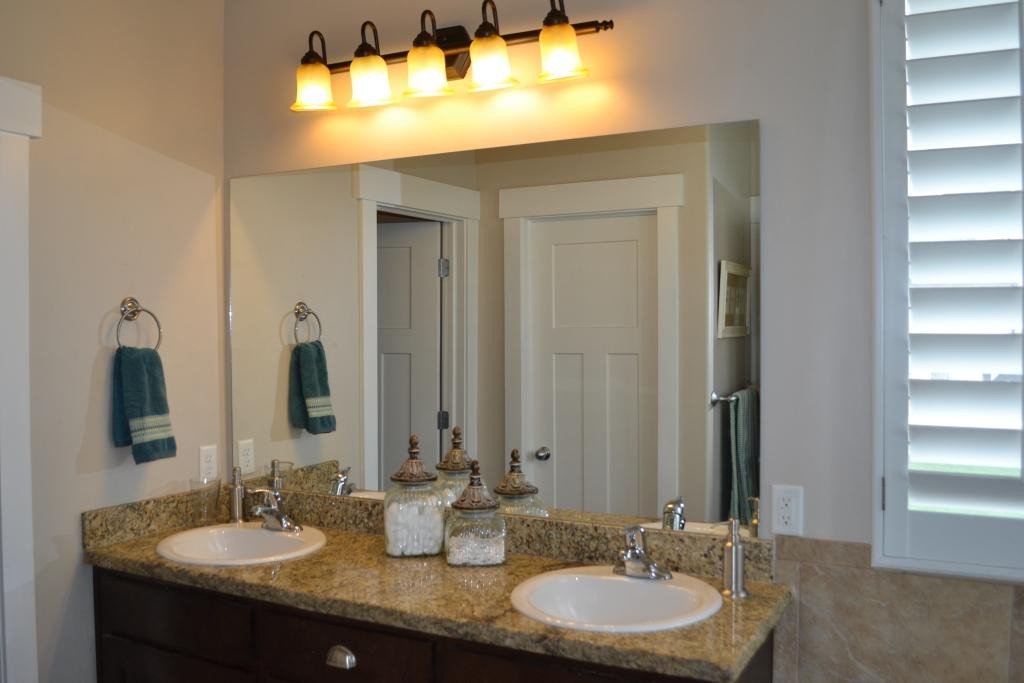
Next to the view having four toilets in this house is the best part of our home. If I could combine the view with the toilets I’d be a pretty happy camper. Since day one I have been a little bummed out (no pun intended) about the extremely builder-grade bathrooms. Framing out the mirrors really helped. For how technically easy this project was it seemed to take me a long time gathering and cutting materials, finishing and caulking. But in the end it’s so worth it, the bathrooms look more finished and brighter. And it was just $88 for four bathrooms! So worth it.
TWO IMPORTANT THINGS I LEARNED:
The first hurdle was how close the mirrors are to the lights and wall. It was impossible to just place the trim on top of the mirror. I had to cut a “rabbet” cut (recessed cut) into the trim so the board would cover the mirror AND lay flat on the wall. I used a saw in the wood shop, but this could be accomplished by running trim through a table saw or a router to achieve depth needed. Here is a pretty good video on how to cut a rabbet with a table saw, and a slightly more technical article on different ways to make a rabbet cut.
Paint before mounting. It’s a general rule really, but paint the board top AND bottom (the mirror will reflect it) before mounting and you will save yourself mounds of time.
You will need:
- trim of your choice
- paint, paintbrush, sand paper
- measuring tape
- panel adhesive or liquid nails
- painters tape
- level
- miter saw
- optional: table saw or router
1. Measure your mirror
2. Select trim. Try to match door frames and other trim in the house for a cohesive look.
3. Cut wood to size, remember to account for overlaps and electrical outlets, etc.
4. Rabbet cuts, if needed (photo of rabbet cut during gluing process)
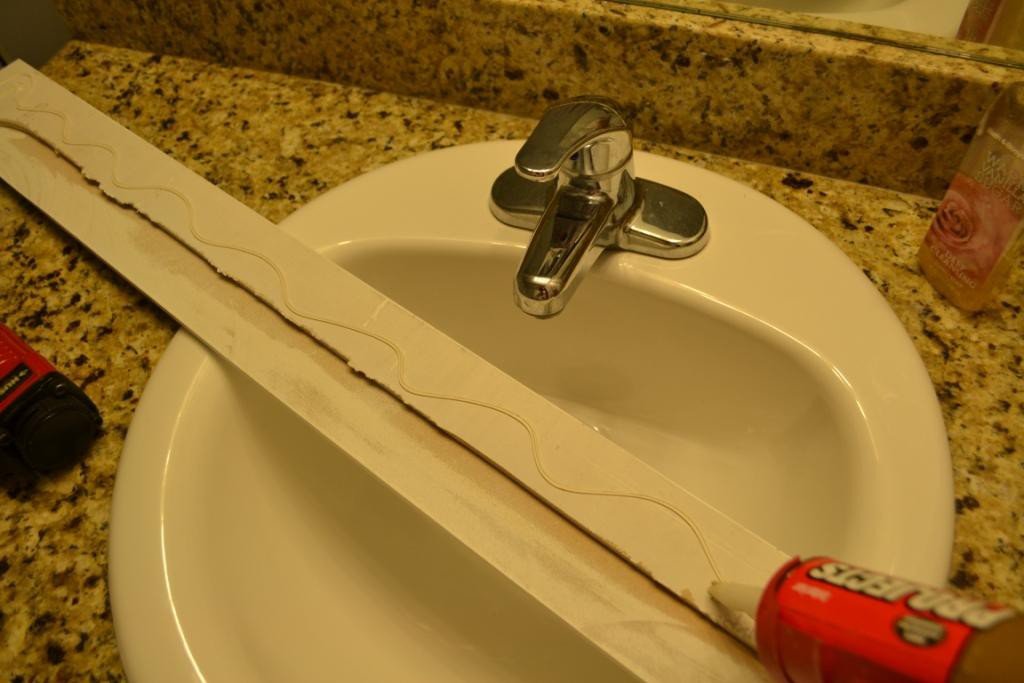
5. Paint front and back of trim, two coats, sand in between
6. Mount frame with panel adhesive or liquid nails, secure with painters tape or a brad nail gun (don’t nail the mirror!). Begin with the top trim. Next, sides, finally the bottom. Use your level and measuring tape to make sure you’re straight and square.


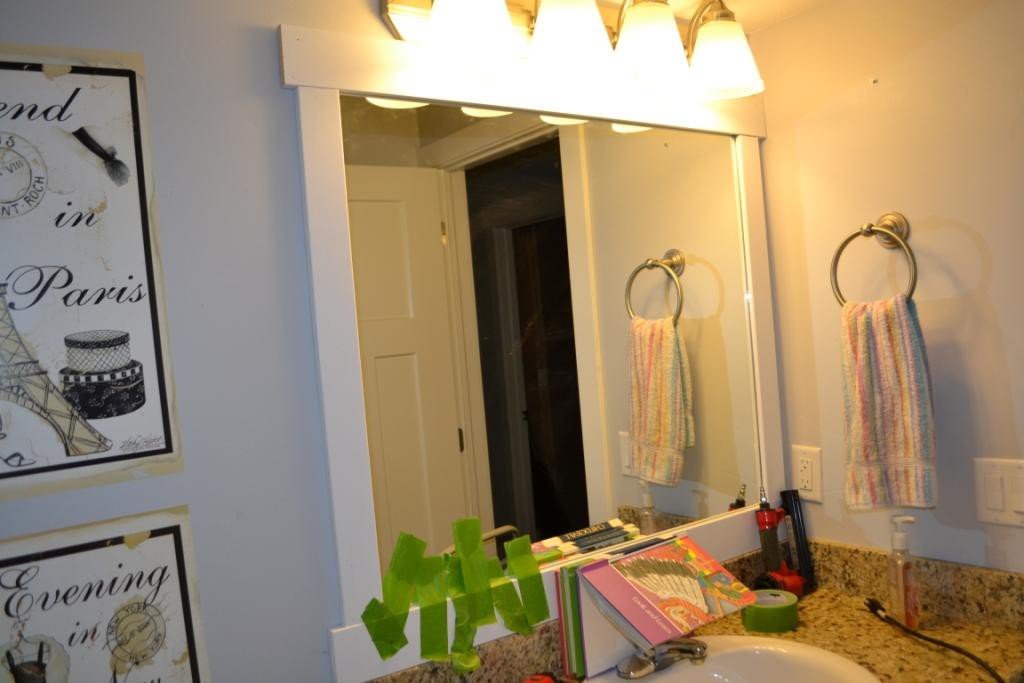
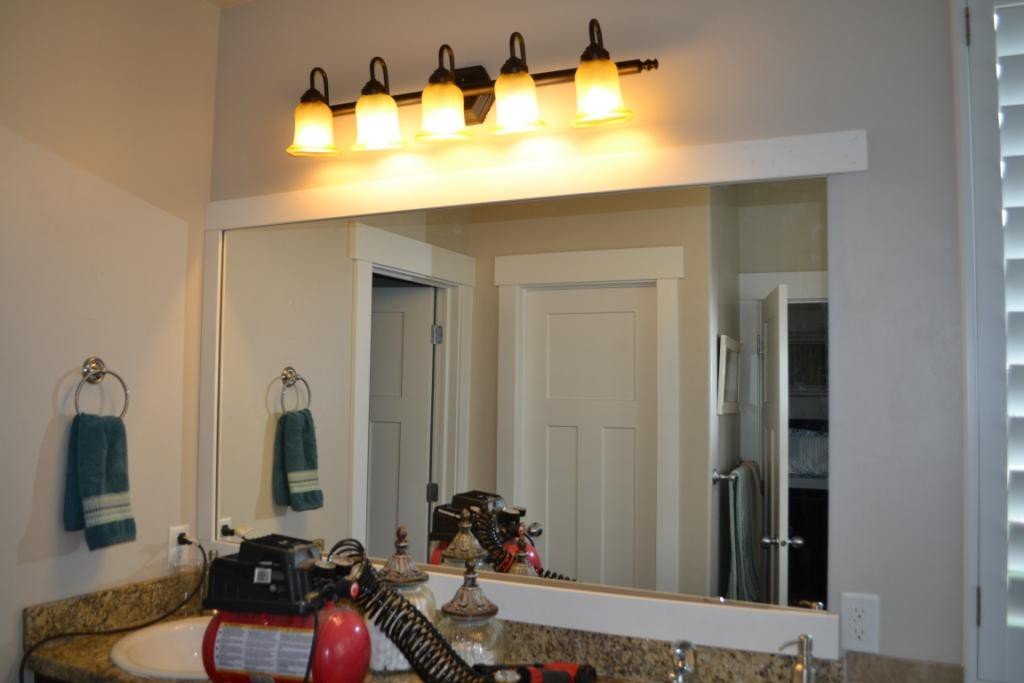
7. Caulk joints and between trim and mirror. If water seeps into your trim it can bulge and eventually warp the frame. This step takes a while
8. Apply any touch up paint needed.
9. Allow to dry for 24 hours.
Before and afters. By the way, cleaning all four bathrooms for an after picture seemed to take as long as the project itself!
Mater bath:
Front bath:
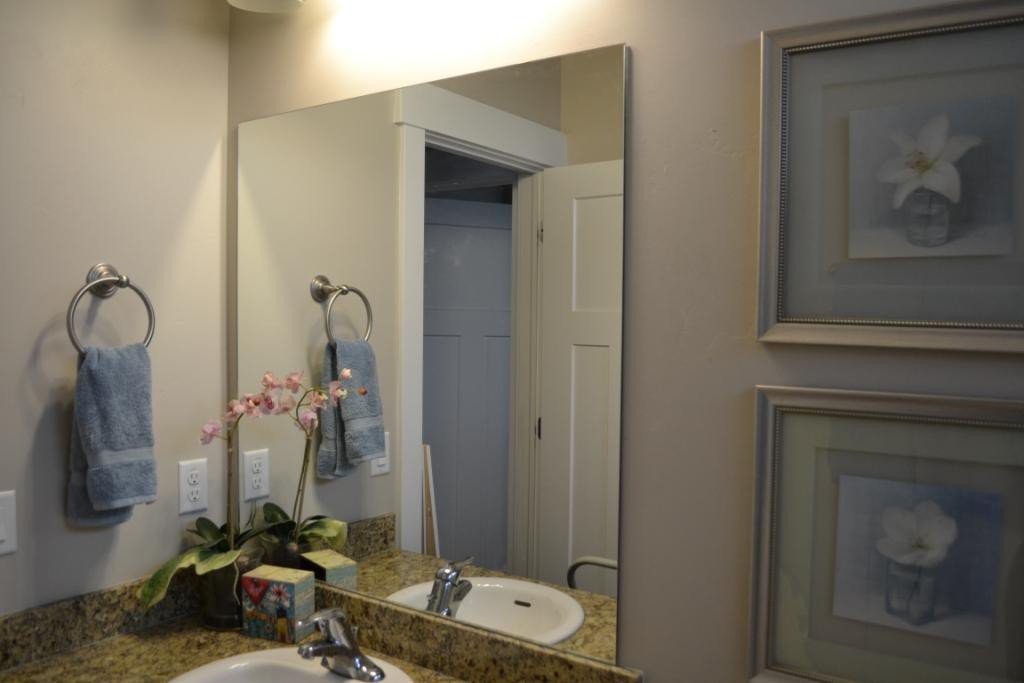
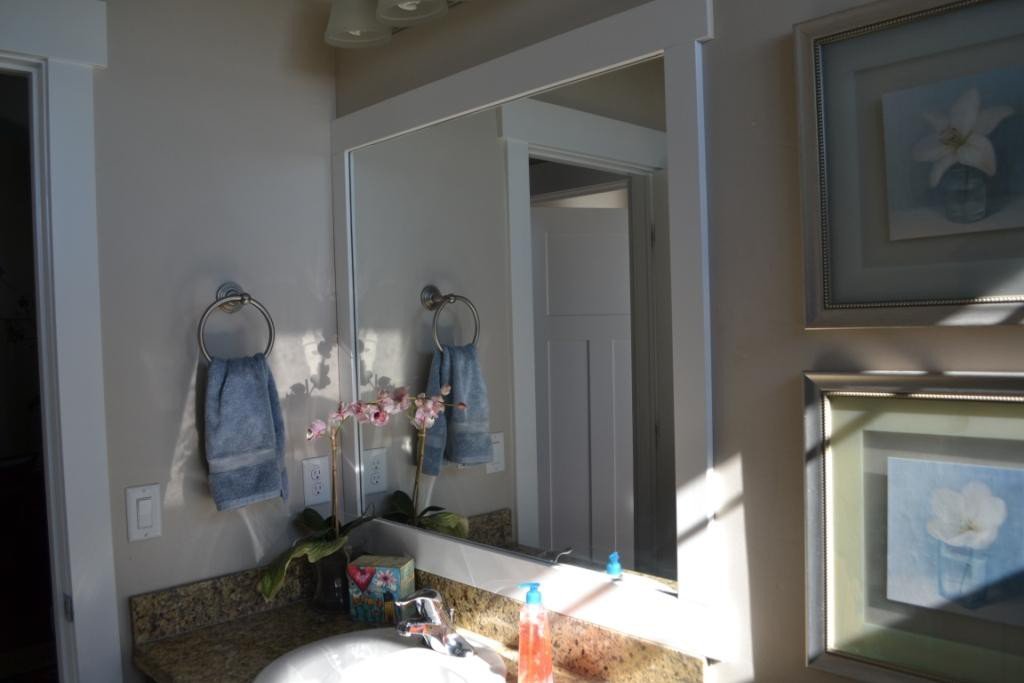
Boys bath (holy dirty mirror):
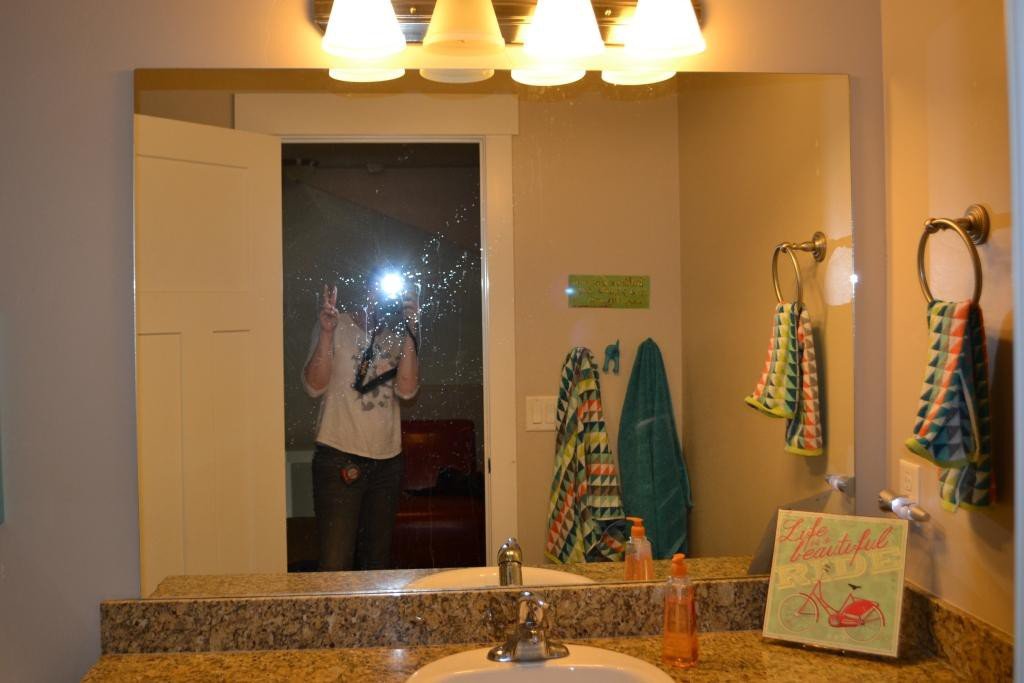
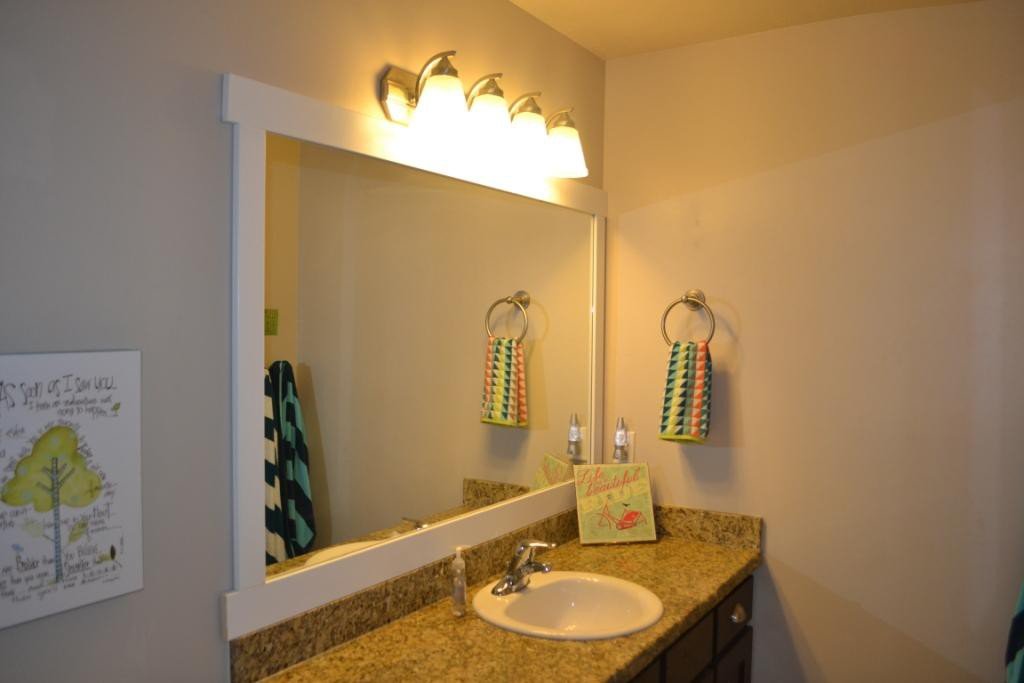
Guest Bath:
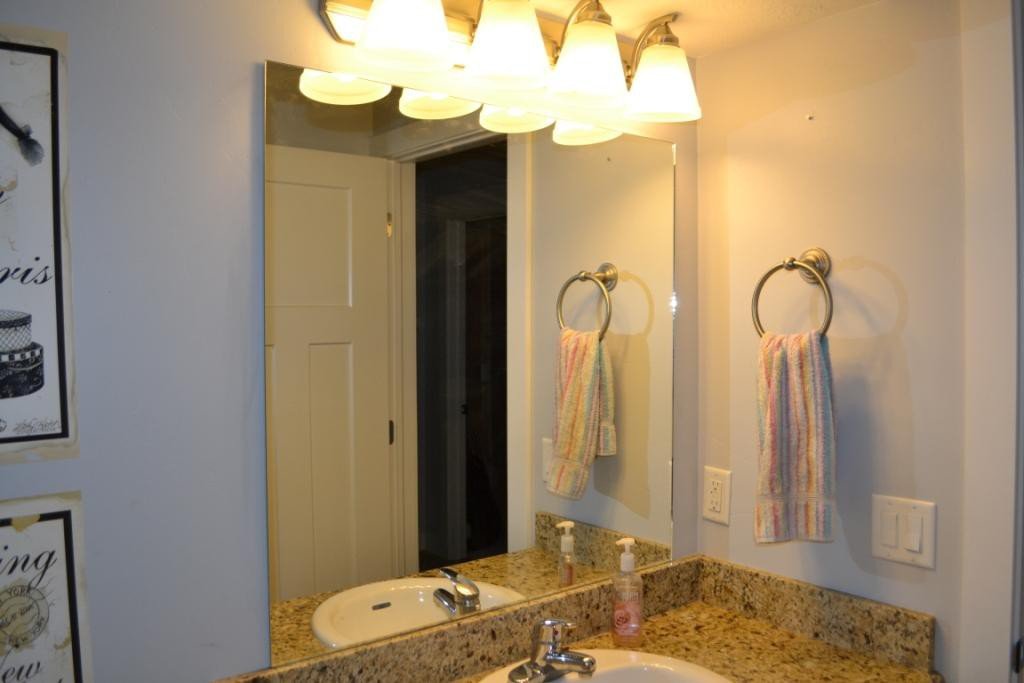
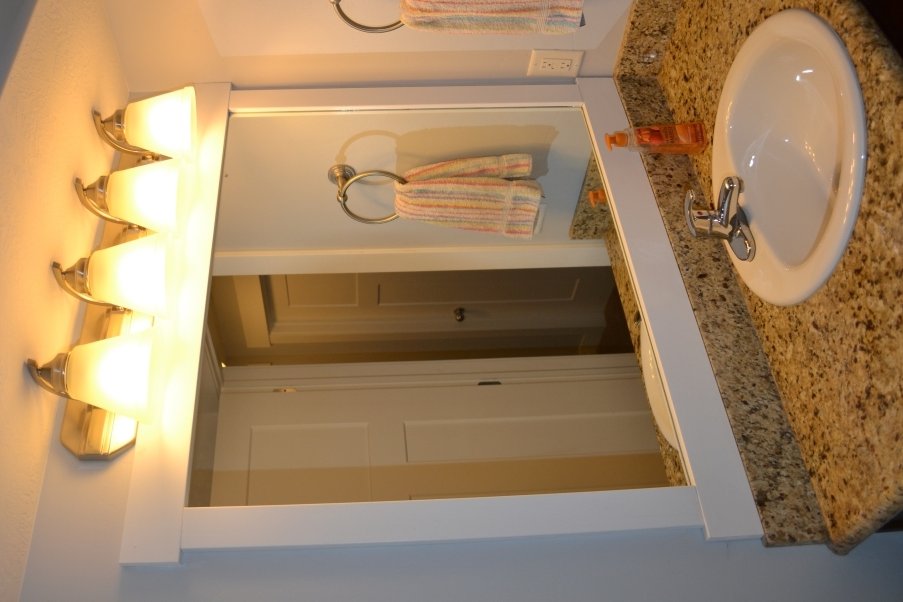
I was surprised by how much BIGGER and more finished the mirror and bathrooms feel with some trim. Please let me know if you have any questions! And you can always check out the tutorial on HGTV.
Have a great weekend and happy creating!
Post sponsored by Kwikset. Opinions are entirely my own.
Yesterday I posted about our door security woes. Today the saga continues with a revamp of our garage door entrance. It’s slightly embarrassing to post a before picture of this beauty:

Garage Door BEFORE (ewe)
This garage entry door is used more than any other door in the home and it takes a massive beating. Honestly, it is the least inviting door to walk into. It’s dirty, yucky, and had never been painted. But somehow after walking in and out a zillion times I stopped noticing the disaster that it was. I think we all do that a little, walk past the mess instead of fixing it. What finally motivated a change was being locked out constantly and spending way too much time breaking in.
DOOR INTERVENTION #2 Garage Door

Garage Door BEFORE
SmartCode was the perfect solution for this door. The whole family can use the code and I can share with neighbors, too. Knowing I’ll never loose a key or be locked out again is as glorious as sleeping in past 8:00 on a Sunday. Kwikset says the installation is easy, and they are not bluffing. The entire installation took less than 10 minutes.
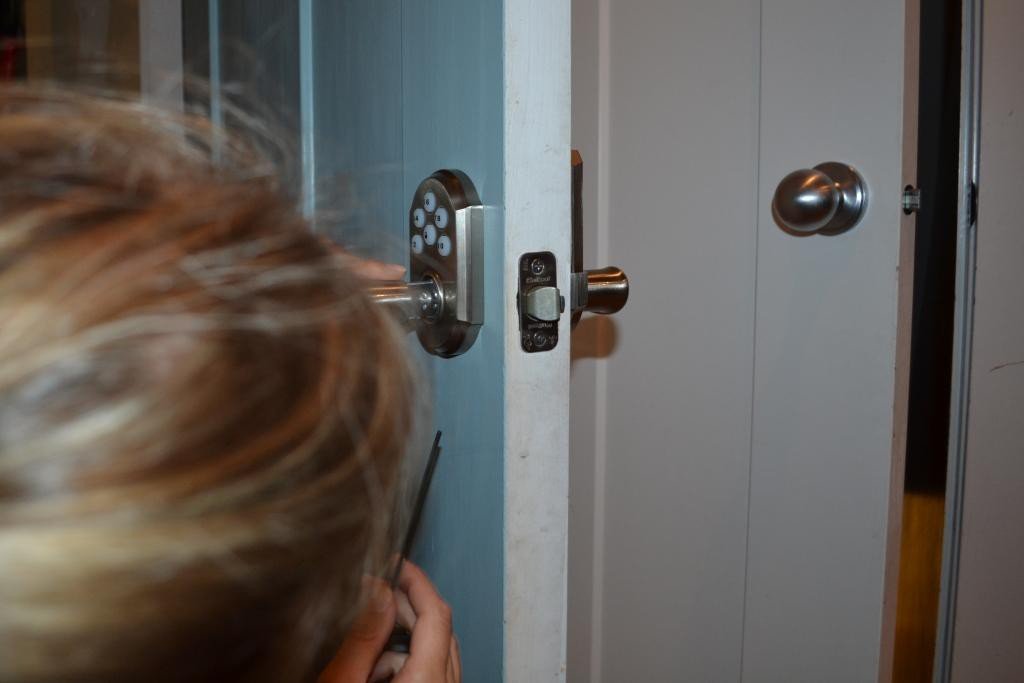
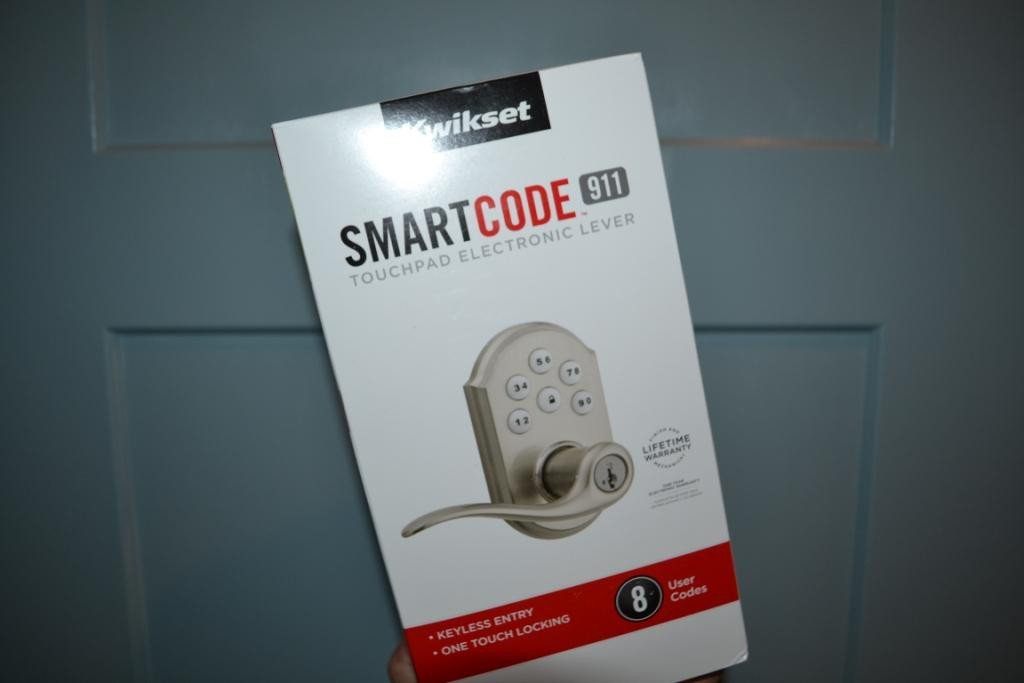
The instructions are clear and easy. I did have one question, so for the sake of the blog, I called Kwikset customer service. I was pleasantly surprised that I was talking to a human in less than a minute. They answered all my questions and the entire process took 4:20. Kwikset customer service team just scored about 100 cool points.
I painted the door “Oslo Blue” by Behr and used Sherwin-Williams snap dry paint so I didn’t have to leave the door open for paint to dry and air condition the town all day. I think the satin nickle handle looks awesome next to the blue. (Why blue? I love it!)

Oslo Blue Snap Dry Paint

Garage Door AFTER
Imagine all the time I spent this year jamming my library card through the door when in just 10 minutes I could have installed a new door lock! I want a few hours of my life back. Not remedying my key problem sooner was not one of my finer decisions. Coming home feels so much better now.

Check out all the products Kwikset has to offer. I’m so impressed with the durability, quality and ease of use (and installation!) of their products, thanks Kwikset. And thank you to the city library for helping me get into the house for the past year, even though you’ve been demoted from home protector to just books I still love you.
Happy Creating!
School is in. I am back… let the games begin! Post sponsored by Kwikset. The opinions and observations are my own.

Photo courtesy of Kwikset
Picture this, a little over a year ago my family returned to our new home from vacation in the middle of the night with our tired, hungry littles only to discover that the keys our realtor gave us didn’t work! Not then, not even now. Fast forward to today and we haven’t had keys for over a year! It’s crazy to think that we’ve literally been opening our doors with my library card. No keys to the house = massive mom fail. Aside from being completely unsafe the handles we had were sub-par at best. Time for a change.

Front Door BEFORE
Cue Kwikset please. Two exit doors needed a complete overhaul, the front door and the door to the garage (I’ll post on that tomorrow). Not only does Kwikset have traditional, beautiful front door handles, they also have top of the line smart locks that will blow your mind, like their Kevo smart lock. The smart technology in Kevo is so cool and the smart lock can be linked to your smart phones, and Nest Learning Thermostat. It comes with Bluetooth-enabled key fobs for littles that don’t yet have smart phones, you can send a guest eKey to friends & family and it even comes traditional keys if you want to kick it old school.
DOOR INTERVENTION #1
Sometimes I get all wrapped up in life and miss out of some of the great technology that is developing all around me. I’m so glad I’m not missing this. Kevo is so worth it. Kwikset is even releasing a second-generation smart lock this month that they say is even better than the first – how is that possible?! But as fantastic as it is, check out this gorgeous new handle set:

I installed the modern “Tavaris” handle in combination with the Kevo for a deadbolt on top. Installing door handles is one of the simplest home improvements around. As simple as it is sometimes lining up the bolts is not always easy with paper templates and since you don’t want to drill more than one hole in your door, try this trick I invented. After you mark where you plan to drill, put in a small nail and hold up your door handle. See if the hole lines up with the nail and make sure the handle is level. If it all lines up, remove the nail, line up your drill and drill away!

Door Handle Installation Trick, notice the nail at the bottom used to line up the base?

Door Handle Installation Trick, line up the handle with the nail before drilling through the door.
Thieves are probably bummed out that for a year they missed scoring some sweet lego sets, school projects and massive family portraits from my house. These Kwikset locks have patented SmartKey security features, which means the locks are bump proof, pick-resistant, even library card proof if you can imagine! Also, and you can rekey the door lock anytime if one of the littles loses a key or you want to reset your security. So, no more hiding keys or getting locked out with Kevo. And, most gratefully, no more wondering if the house is vulnerable. It’s pretty sweet.

Front Door AFTER

Front Door Handle & Kevo AFTER. Gorgeous!
Welcome home to us!
(wreath and mat from Target)