Archive of ‘Painting’ category
Sometimes it takes a middle school dance to really knock some sense into you. Last week my oldest son invited me to his Valentine’s Day dance and walking into the gym, I gotta tell ya, the B.O. and anxiety took me back about 25 years in a hurry. It was a painful experience even though I remember actually liking middle school.

After the cookies were eaten and the fancy dancing was over I came home to his room that looks like a yard sale. And not the good kind. Like if I wanted to be a foster parent I’m pretty sure the state would turn me down. He is still using his original changing table/dresser, train bedding from his toddler bed, furniture from a rental and other stuff that just doesn’t work anymore- especially for a teenager. I don’t like kids growing up, Peter Pan and I would be great friends. Here’s a pic of his bed. I promise this is not staged! Ha!:

Not very teen-agey. I feel bad for him. So, the planning has begun. Whenever I plan kids’ rooms and I’ve done a few, like the train room, board and batten, and the treehouse. I have overall objectives I’m reaching for, and (gasp) design is not at the top.
- Kids are happy (for my kids this means some input)
- A space for them to READ (like this one!)
- Space for them to dream and play
- The room reflects their personality, which is not always high design!
The plan for the new room is gonna take a lot of effort but my son and I are doing it together. We have pinned several ideas.
Color scheme, “In the Navy” and “Dill” from the Pottery Barn Teen Collection at Sherwin Williams (click here for a coupon):

Mural, found on Little Lady Little City:

Personality pick (trying to find the original, this is what’s floating around pinterest):

Add some lighting for reading like the one from this etsy shop:

Also, his little bro is joining him in his room, so I’m now planning for two. We’ve begun painting and will be working on this for a while, I hope you stick around to see how it all turns out!
Happy Creating!
Yes, I think the sky is still a little gray. Let’s all hear it for “poised taupe” Sherwin-Williams Color of the Year for 2017.

Photo courtesy of Sherwin-Williams
We’ve all been gaga over gray for a while now, but it is warming up a little. Sue Wadden, director of marketing, describes this color “like gray and brown had a baby.” I think it’s gorgeous! Check it out in this room:

Photo courtesy of Sherwin-Williams
Kinda makes me want to take a nap in that room right this second. If you’re thinking of painting soon, consider the trend leaning from gray a bit.
Happy Creating!
Post sponsored by Kwikset. Opinions are entirely my own.
Yesterday I posted about our door security woes. Today the saga continues with a revamp of our garage door entrance. It’s slightly embarrassing to post a before picture of this beauty:

Garage Door BEFORE (ewe)
This garage entry door is used more than any other door in the home and it takes a massive beating. Honestly, it is the least inviting door to walk into. It’s dirty, yucky, and had never been painted. But somehow after walking in and out a zillion times I stopped noticing the disaster that it was. I think we all do that a little, walk past the mess instead of fixing it. What finally motivated a change was being locked out constantly and spending way too much time breaking in.
DOOR INTERVENTION #2 Garage Door

Garage Door BEFORE
SmartCode was the perfect solution for this door. The whole family can use the code and I can share with neighbors, too. Knowing I’ll never loose a key or be locked out again is as glorious as sleeping in past 8:00 on a Sunday. Kwikset says the installation is easy, and they are not bluffing. The entire installation took less than 10 minutes.
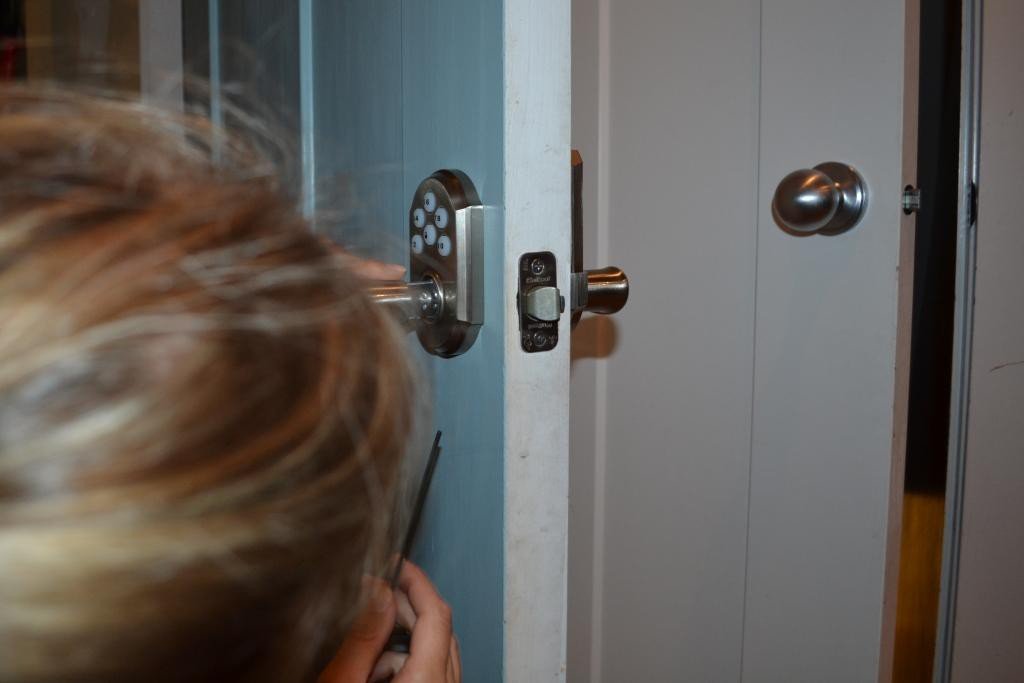
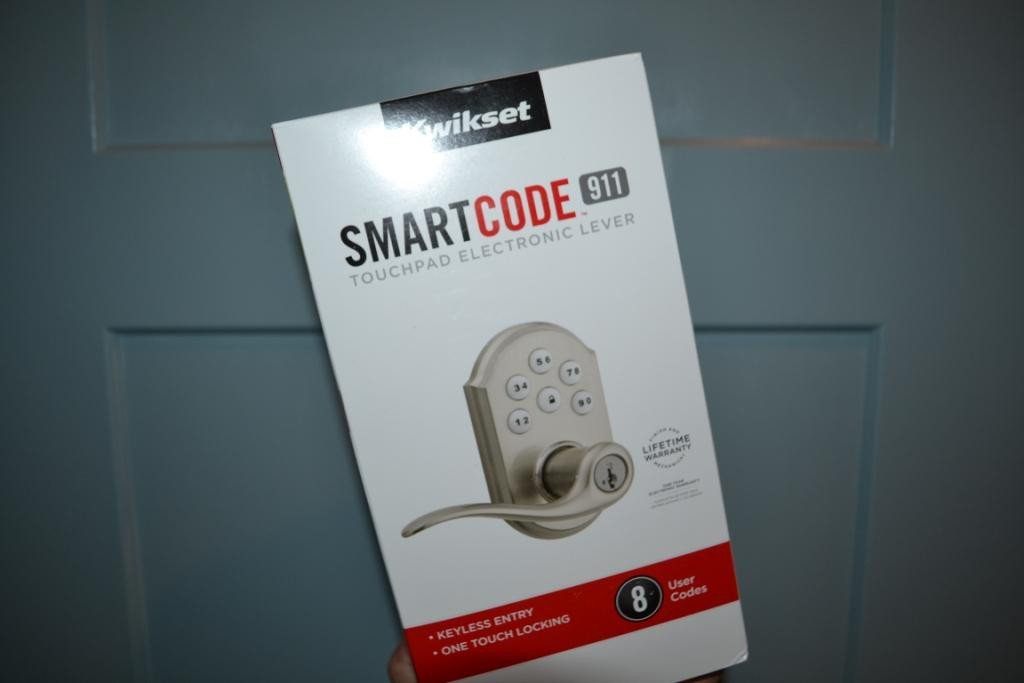
The instructions are clear and easy. I did have one question, so for the sake of the blog, I called Kwikset customer service. I was pleasantly surprised that I was talking to a human in less than a minute. They answered all my questions and the entire process took 4:20. Kwikset customer service team just scored about 100 cool points.
I painted the door “Oslo Blue” by Behr and used Sherwin-Williams snap dry paint so I didn’t have to leave the door open for paint to dry and air condition the town all day. I think the satin nickle handle looks awesome next to the blue. (Why blue? I love it!)

Oslo Blue Snap Dry Paint

Garage Door AFTER
Imagine all the time I spent this year jamming my library card through the door when in just 10 minutes I could have installed a new door lock! I want a few hours of my life back. Not remedying my key problem sooner was not one of my finer decisions. Coming home feels so much better now.

Check out all the products Kwikset has to offer. I’m so impressed with the durability, quality and ease of use (and installation!) of their products, thanks Kwikset. And thank you to the city library for helping me get into the house for the past year, even though you’ve been demoted from home protector to just books I still love you.
Happy Creating!
With the dresser finished for baby g’s room the bed was next. Since I gave her crib away when we moved my little one has been sleeping on her crib mattress on the floor. It just makes me sad to see this each morning:
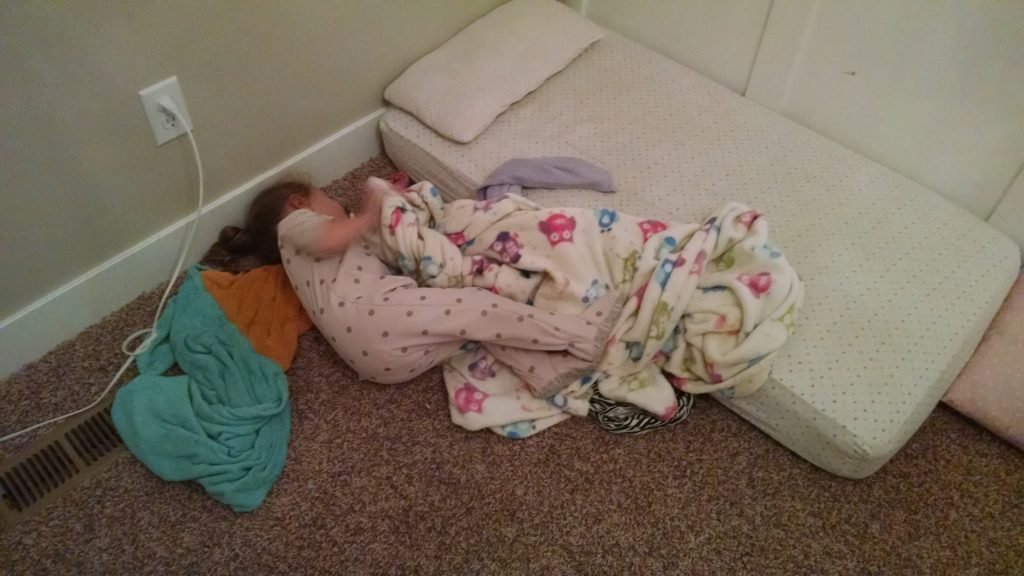
Poor little one. Luckily, my sister and I traded old furniture. I swapped a queen sized mattress when we upgraded to a king (which is a dream come true) and she gave me this bed frame her son had outgrown. It was black and broken, but the bones were so cute.

Before painting this beauty it needed to be fixed. There was a crack in the top and a broken frame piece.

I used gorilla wood glue and pressure to fix the crack. An old carpenter once told me that “glue is stronger than nails”, not sure how true that is, but wood glue can be very strong. I glued the crack and used brackets and weight to allow it to seal together:

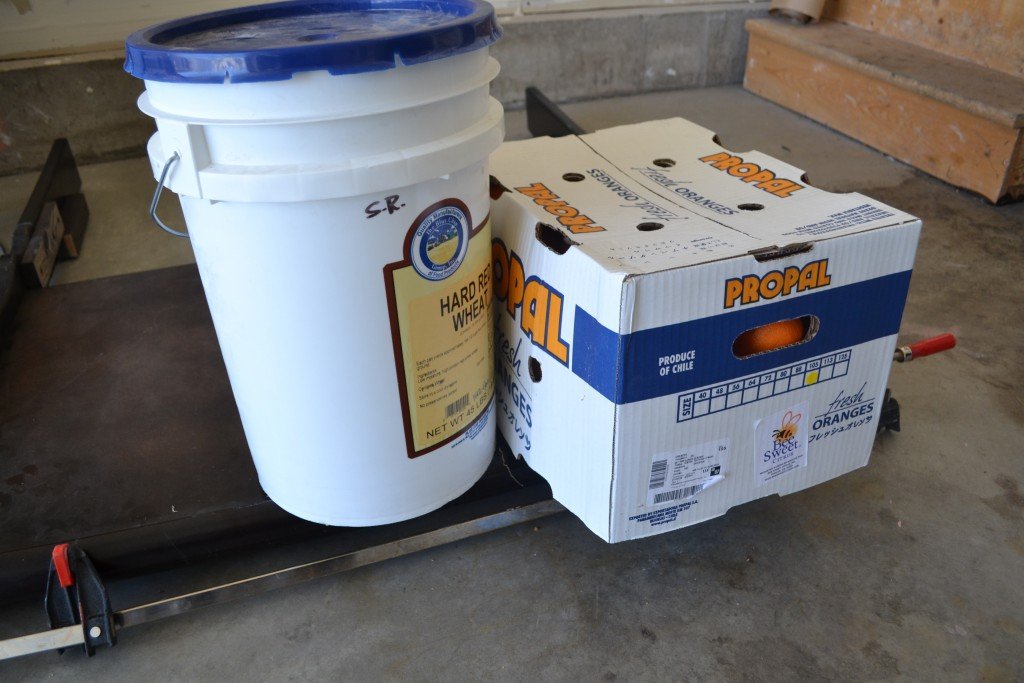
This isn’t carpentry at it’s best, but that bucket of wheat and box of oranges weighed about 80 pounds total and put enough pressure to allow the wood glue to work it’s magic. I let this sit over night and voila! Crack repaired.
Next the broken frame piece. This had to be completely remade.

I started by measuring and finding the right size dowel piece:

I cut a 2×4 down to size, cut the middle with a table saw, and drilled holes for the dowels, using the original broken bracket piece as a pattern. Here’s what it looks like attached:

And finally, painting. I used the same steps for the bed that I did on the dresser and my yellow table. Check out the table post for the best step by step instructions.
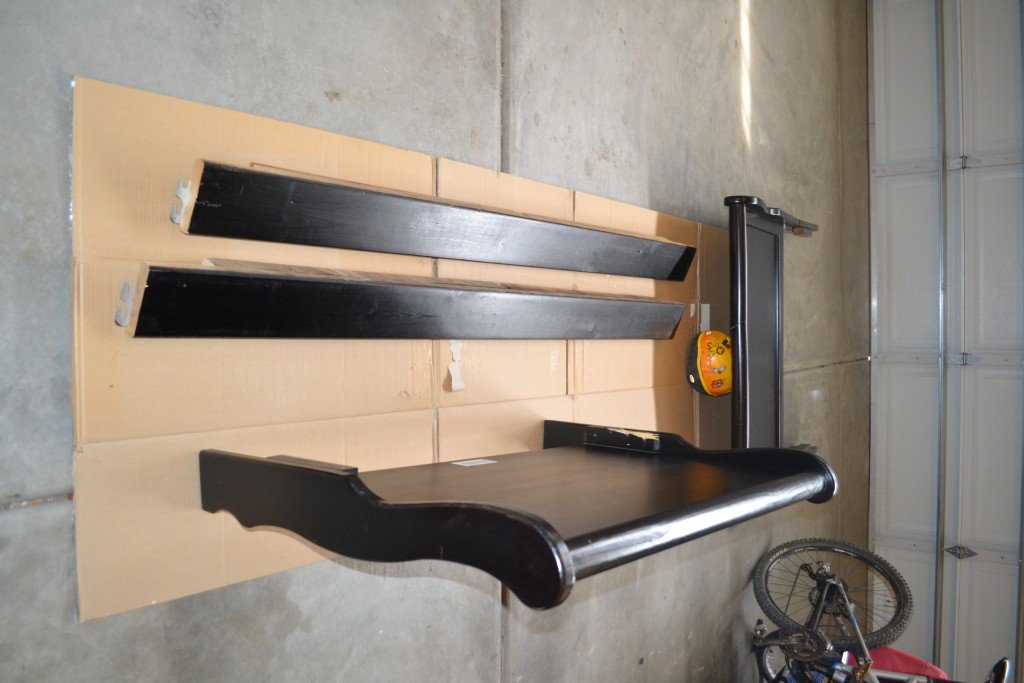
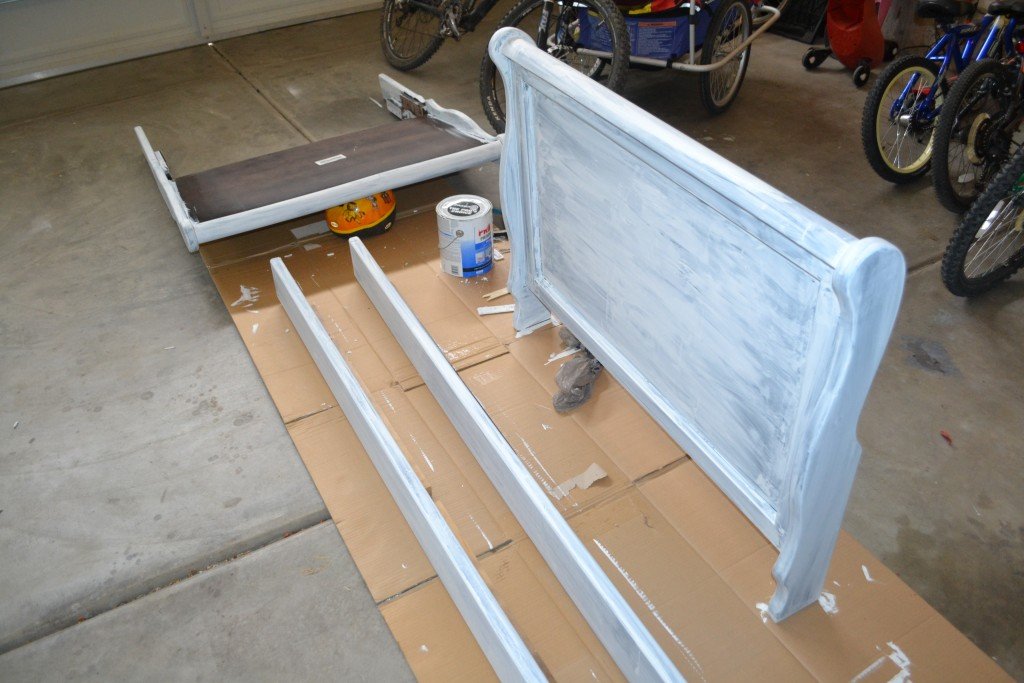
Almost done:
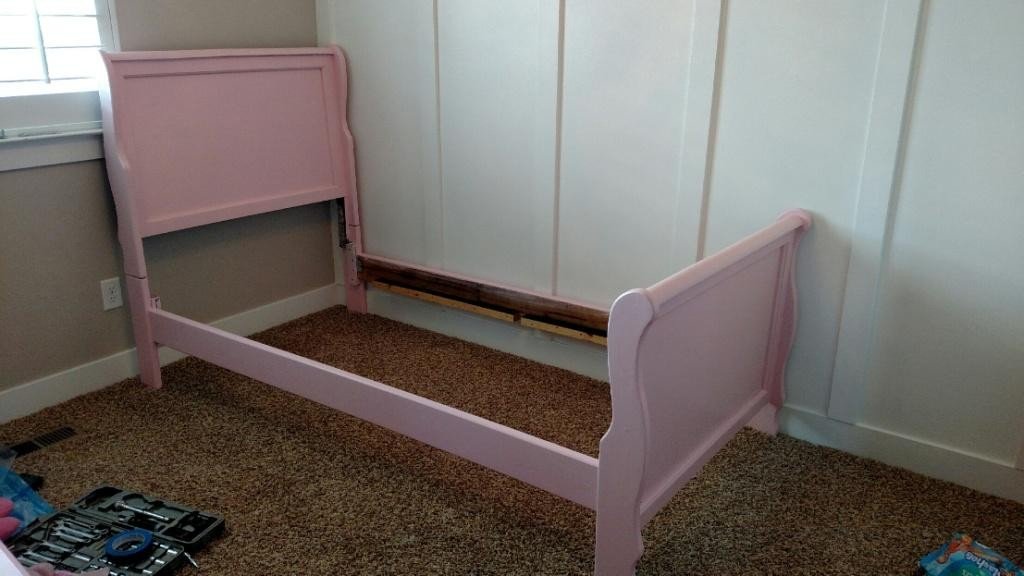
AFTER
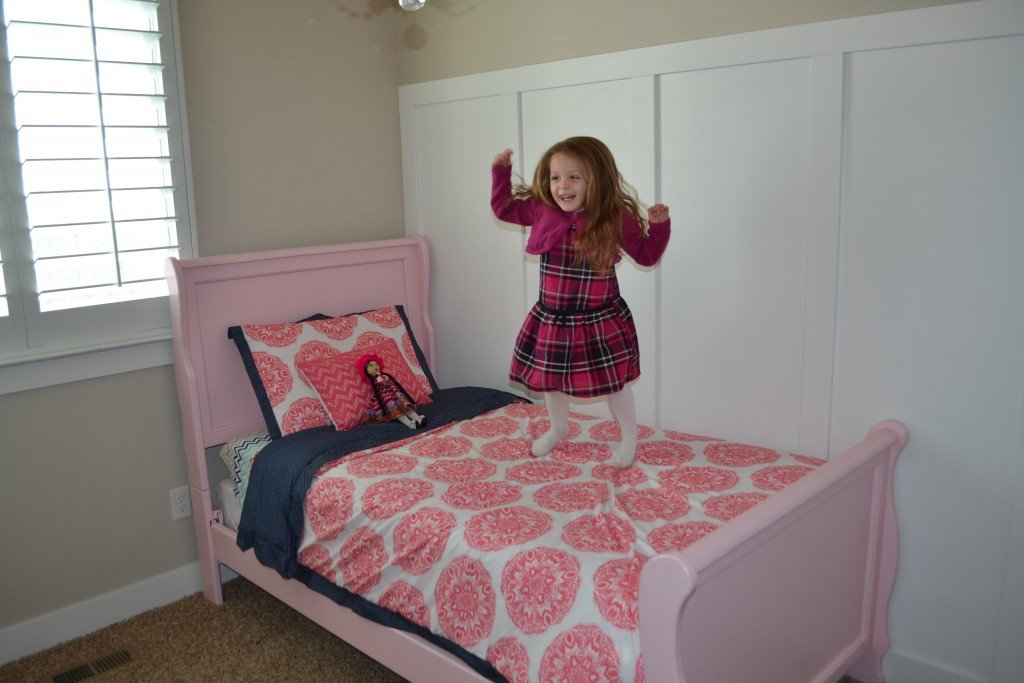
The room is coming along and is now sufficiently pink. Best part is, my baby is in a big girl bed. I couldn’t be prouder.
Happy Creating!