Christmas is here! I love the holidays, the music, the food, the religious significance, the ambiance. It’s especially magical with kids. My family has lots of traditions surrounding the holiday, today I’m sharing one of my favorites. My kids are constantly asking if they can open a present before Christmas… and my two year old doesn’t even ask, she just goes for it, I think she gets it from me. I found a great solution to this query! Each year I wrap up 25 of our favorite Christmas books (we’re a reading family!).
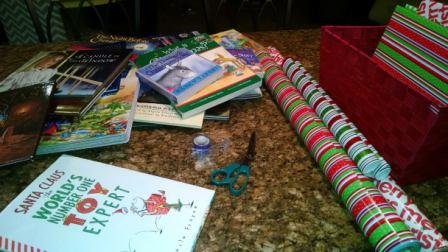
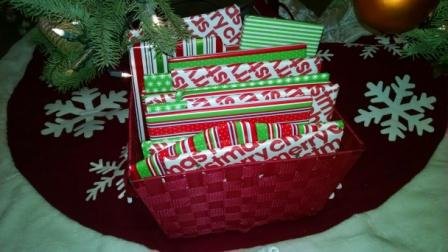
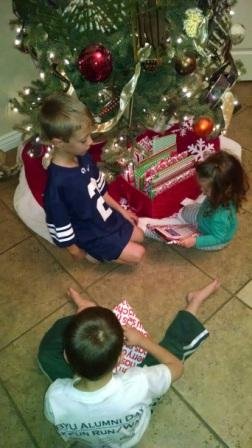
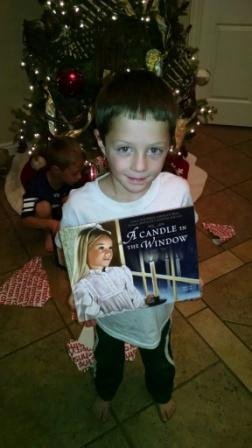
Beginning December 1st each night the kids take turns choosing one to unwrap, then that book is our bedtime story that evening. Whomever opens “The Polar Express” is the house hero, it’s their favorite. The kids love the tradition, I love it and it keeps the holiday feeling throughout the month. If you don’t have 25 Christmas-themed books, try it with just one on Christmas Eve!
Happy Creating!

For some reason this project took foreeeeeever (make that for like ever), even though the different parts were each quite easy. I have always loved the original “for like ever” poster:

found here, but wanted to put my own twist on the words.
Materials:
- glass- pick the size, I used 16×20
- 1×2 wood, enough to cover perimeter twice
- spray paint
- frosted glass paint
- stencil
- 3″ wood screws
- wood glue
- hot glue gun
- mitre saw
- battery operated lights
To build this project, or any shadow box frame, start by using a stencil or Cricut to cut out lettering backwards and attach to the backside of a clean piece of glass. Spray paint the BACKSIDE of your glass. I made this mistake originally and painted the front side… I have seen a lot of spray paint in my day, but could not get the splotches out on the front side of the glass. If you spray paint the back you will get a smooth, nice look to the project. You will need at least two coats, I used three. When dry, remove the lettering:
And spray the clear glass with a frosted glass:
Next, build your frame. Build a perimeter frame connecting the 1″ side of your wood, so the frame is tall. This allows you to use lights without burning your wall. To build:
- Cut your wood to the size of your glass, no angles on this project, just straight cuts
- Connect with wood glue and brackets (and brad nails if desired to help hold shape)
- Allow the glue to dry
- Then secure on the ends with 3″ wood screws
Now, build the top frame piece that will lay on top of the first frame. Follow the same steps above, but this time connect the frame on the 2″ side for a flatter, wider frame.
After the two frames are made glue them together and attach with brad nails. Use brackets to hold together while drying for a secure bond.
Now time to paint! A couple of coats will do it.
When the frame is dry use a glue gun to attach the glass to the inside of the frame:
Then use the glue gun again to attach battery-operated lights. Leave enough cord to attach the battery pack to the outside of the frame for easy use.
Now the frame is ready to hang and enjoy! I hung ours between the boys bedrooms. They love it, especially the fade-in option and the flashing lights setting. I’m not huge on flashing lights, but it was never for me anyway. Just want my kids to know they are loved.
Happy Creating!
Of all projects playrooms are some of my favorite. When my mom enlisted my help to redo her play room I was ecstatic. My sisters were also on board to help. At the base of her stairs is a large room that all the grandkids play in. Although it’s big (about 14×20) there are no windows, so it’s kinda dark. Also, my mom has 27 grandchildren so the place gets thrashed and she has little desire to buy new furniture for such a crazy zone (I wouldn’t either). Mom is very clean, but here’s a before shot of the playroom AFTER the children hoopla-ed:
Yep, needs help. Her objectives were simple:
- Create an inviting room to play
- Brighten it up
- Make it kid friendly and gender-neutral
- Re-purpose existing toys and furniture and stay under $300
The easiest way to brighten a room is paint. We painted the entire room Sherwin-Williams “blue horizon” and it instantly felt better:
Then we attempted my second-ever wallpaper project. I saw this amazing map on one of my favorite blogs, Oh happy day! and instantly knew it would be perfect. One night when my sisters were in town and the kiddos were finally asleep (so, ya it was really late) we hung the map. Let me just say I haven’t laughed that hard in a long time…
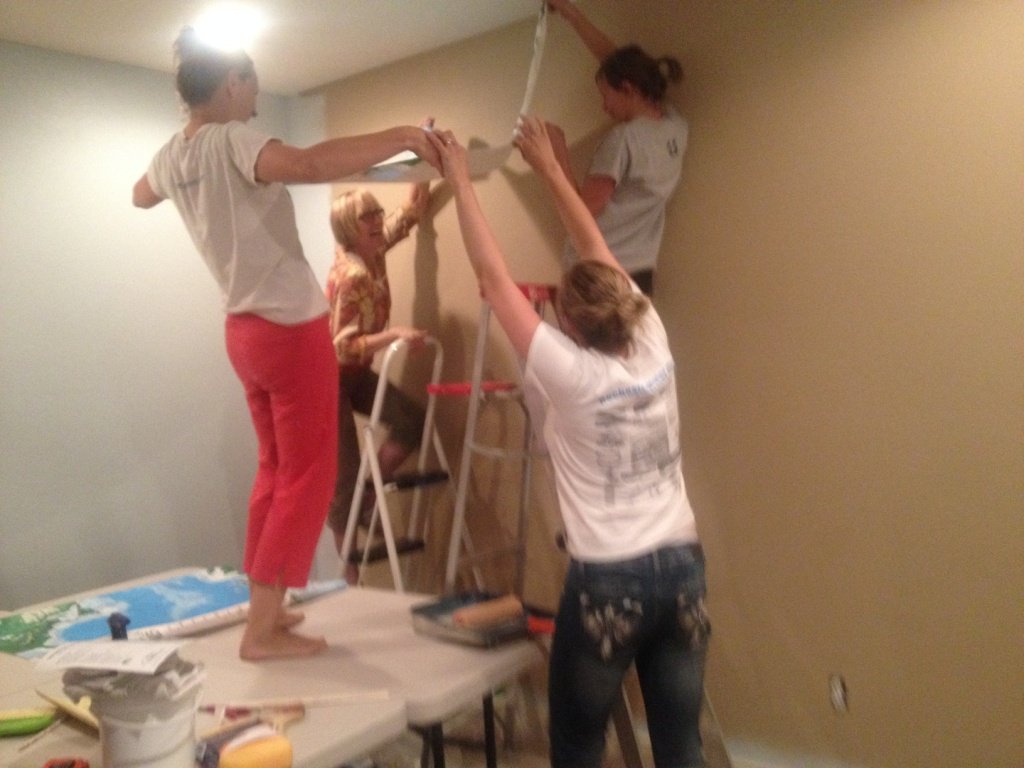
The wallpaper came in eight sections and was pretty easy to hang, but there were a lot of us there! We started off-center and had to cut and rearrange, which was adventurous, but it ended awesome. If you are going it alone or you’re an amateur wallpaperist like me (totally just made up that word), check out a youtube video on hanging wallpaper before diving in. A helpful hint, we bought wallpaper glue from the hardware store instead of mixing the paste that came with the map.
Still to come, part 2 includes painting the entertainment center, and organize all the toys! I hope to post it next week… huge shout out to mom, Andi and Zub, you guys rock wallpaper.
Have a great weekend and happy creating!
Summer is winding down and I feel like I need a little vacation from our vacations ( mostly family reunions back to back that were a total party!) I am abnormally nostalgic, but for some reason really hate souvenirs. Don’t get me wrong, I love souvenirs that have meaning and purpose like a tablecloth a friend in Chile crocheted and art I bought off the street in Venice… it’s the little key-chains and ruined-after-one-wash t-shirts that I loath.
For years my husband and I have been content to come home from a trip with nothing but photos and dirty laundry. But now it’s my kids that always want to buy something on our excursions, so, here is my perfect solution: Make Place Mats.
This summer my kids collected as many free maps/guides they could find. Saving maps didn’t bug me at all. At home the kids chose their favorites, layered them two-sided, and laminated them at the local copy store. $4.67 later the kiddos were thrilled with their memorable souvenir and I was so happy to have a purposeful and super inexpensive summer souvenir! I’ll be honest, meals take a little longer as they study the mats, but they reminisce in fond memories which I think it time well spent.
Maybe you still have maps and guides floating around from your summer travels, make a place mat!
Happy Creating!
(If you’re wondering why my table is yellow, you can check it out here)