Archive of ‘Remodel’ category

Barn Door. National Hardware. Best Christmas Ever.

el fin

National Hardware gave me the best Christmas present ever this year, BARN DOORS! Thrilled doesn’t begin to describe how I feel about the new doors and the hardware that made it all possible. My bedroom is completely transformed. Here is what the room looked like when we bought the house:

master

And here’s what the add-on looked like before:

crab shack before

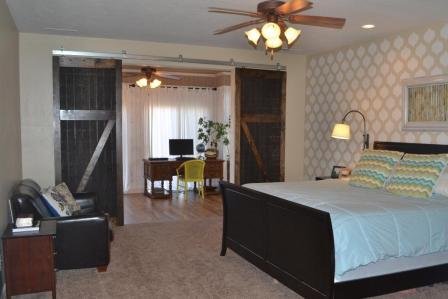
And here is the room now:

after bedroom

We bought this house sight unseen (pretty crazy I know) and it needed paint, carpet, and other work, but this little add-on was always the quandary. For those of you just chiming in, the previous owners added-on a 10×15 foot room to the master bedroom. They never took down the exterior sliding glass doors, so it was pretty random to have a bedroom then a sliding glass door that lead into a room that looked like it should have plastic fish everywhere. On the first day my husband and I walked into the room and just kept looking at it saying “huh” a lot. Then he said, “kinda looks like a crab shack,” thus the name was born.

I considered several options on what to do with the room, but I immediately wanted the doors down and barn doors in it’s place. There are some truly beautiful DIY barn door projects out there, but I have wondered if they are 1. super loud and squeaky when you’re opening and closing 2. if the hardware really can support the weight of the doors and 3. if the doors are truly functional. These doors were surely going to be functional. I needed something sturdy, industrial looking and top quality. National Hardware met all the criteria.
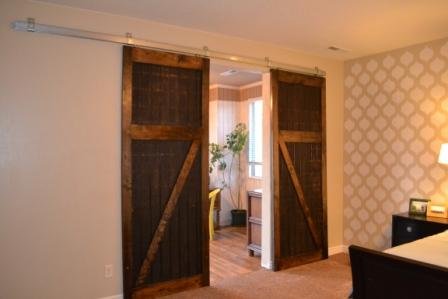
after 2

This hardware is the “box rail” variety, go to this page and scroll down to see this diagram ad how the hardware all fits together.

barn

Photo credit: National Hardware

If you follow the steps on the page you’ll learn gathering supplies is just a 3-step process: choose your door and rail, select your hanger, add accessories. Here is a breakdown of the parts I used:

  1. Box Rail, the bar on the top that your sliders go into. There are different types, mine is part #5114 “plain box rail”.
  2. Box Rail Bracket, to attach the box rail to the wall. I used part #DP51F, Single Box Rail Brackets
  3. End Caps, so your doors don’t slide out of the box rail, part #51EDBC
  4. Box Rail Hangers. These are the rollers you attach to your door, part 5005B. These parts are my favorite. I think they are really pretty. The bracket can be attached on the back or the front of your door.
  5. Also helpful would definitely be pulls and stay rollers to keep your doors from swinging onto walls.

Other tools you will need:

  1. Level
  2. Drill, with drill bits
  3. Stud Finder
  4. Ladder

The most time consuming part of this project was making the doors, so if you already have doors, you’re way ahead and with someone to help you a DIY hang is definitely doable. Plus you’ll feel awesome when you can say, “I did it.” Installing double doors is definitely a two person job. If you have the hardware, but don’t want to attempt a DIY hang, call a carpenter.

You will need to decide how far off the ground to attach the box rail and how far apart the brackets will be. For the height we wanted it to just touch the top of the carpet, so we measured that height (including the hangers) and used a level to draw a line where the bottom of the box rail would hang. That line became our guide. For the brackets, the doors are each 8′ tall and 3′ wide, the box rail is 12′ exactly.
pilot hole

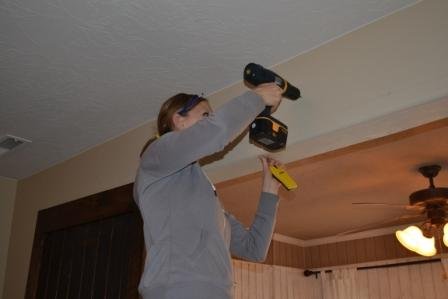
First step, find the studs. I used my stud finder (the yellow tool in my hand) that you can buy at any hardware store, mine was $7 and it has never failed me. I drilled a small pilot hole just to make sure it was a stud. Make sure you hang your doors into a stud, doors crashing down because they are in drywall no esta bueno. Be careful out there.

We used FIVE brackets on our box rail, each 34″ apart with one in the center. After marking the studs I had to calculate where to put the brackets- and of course that means math, here’s me trying to do some, I was “trying” for like 20 minutes:
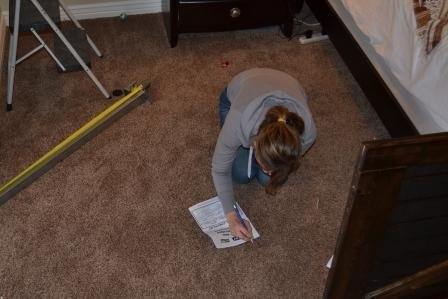
Sarah trying to do math

We slid brackets on the box rail, I held the rail while my husband screwed the first bracket into the center. (P.S. I love that he borrows my tool belt.)
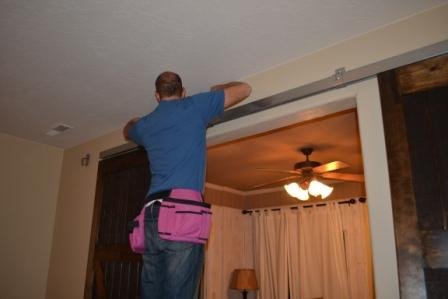
hubby helping, my sweet belt

After attaching all five brackets we slid each door into place. When the rollers hit the rail I was soooooooo excited. It was the icing on the bedroom cake. We stepped back and just admired for a while, so fun to have the project almost completed!
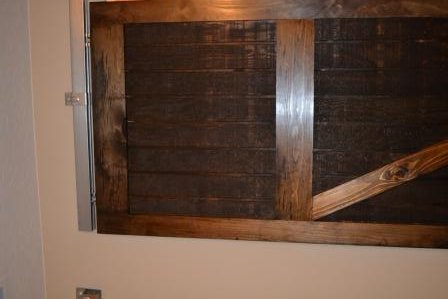
one door on

Finally, the end caps. Put them on with a mallet or hammer.
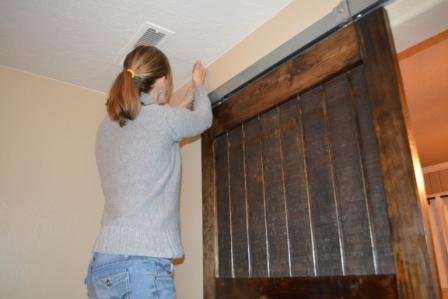
finishing touches

This morning I ate my cereal on the bed just so I could gaze out on the beautiful barn doors.
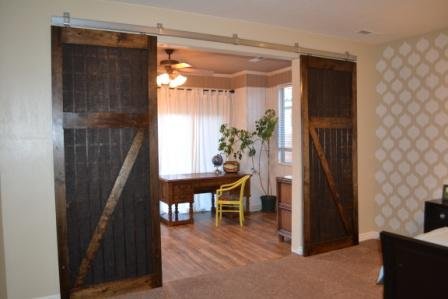
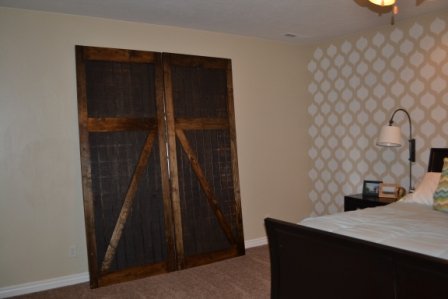
after

One of my favorite parts of having the doors, besides that they look so amazingly cool, is when they are closed our room is like an all out black out at night! I could sleep forever, if it wasn’t for all the kids and the darling puppy to take me out of my lovely pitch black slumber.
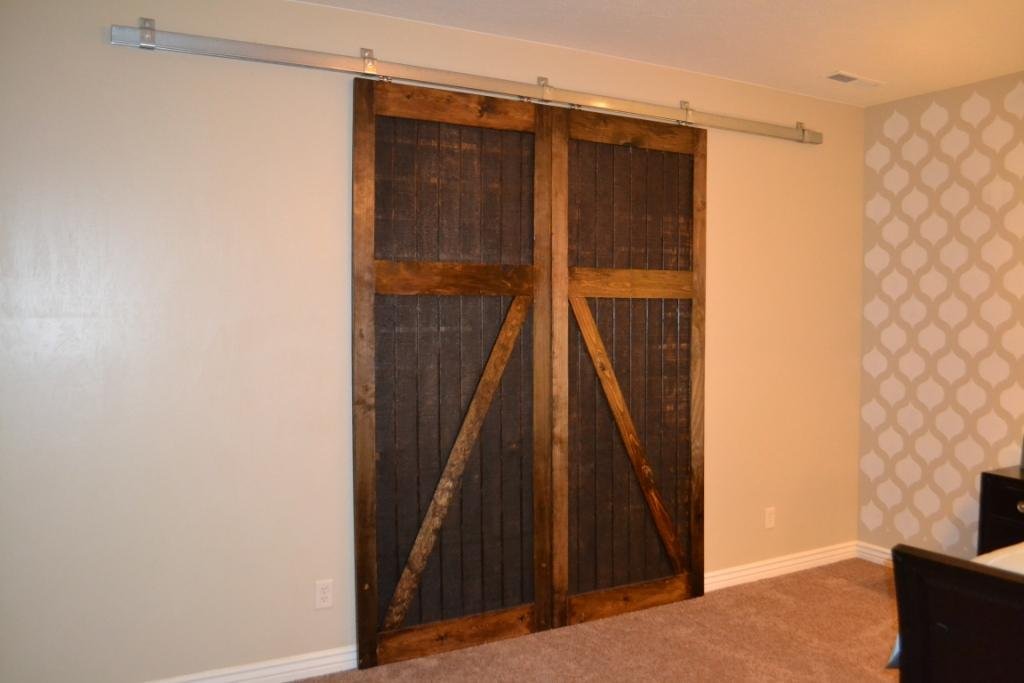
after doors closed

National Hardware makes a superb product. I am all raves for the quality, fit, function and style. The door is quiet, sturdy and smooth, what more could a girl want in a barn door?! If you are considering a barn door in your home YOU CAN DO IT! Check out all National Hardware has to offer, I highly recommend!

Merry Christmas and Happy Creating!
Barn Doors

The materials for the door build were donated by National Hardware. The build and opinions are my own.

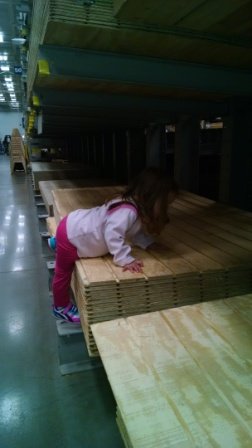
I’m not sure what part of my mind thought I could maintain everyday demands, create a wonderful Christmas for the family, get a new puppy, potty train my 2 year old and remodel the crab shack simultaneously. A little crazy, but it’s coming along! The crowning project of the crab shack, in my opinion, are the barn doors. I have debated different kinds of doors and originally bought 8′ doors that matched the rest of the house, but my husband convinced me I should build the doors. I’m glad he did. Although going to the hardware store with four kids isn’t my favorite thing in the world, I was excited to surprise my bff after a business trip with new doors:

hardware store with kids 2 hardware store with kids 1

Here are the materials I used for each door (so if you’re building two doors make sure you double this):

  • Two 1x4x8 pine boards
  • One 1x4x6 pine board
  • Two 1x6x8 pine boards
  • 1 wood siding board (cut to size at Home Depot)
  • Miniwax wood prep
  • Miniwax Dark Walnut wood stain
  • Poly Urethane
  • sander
  • paint brush
  • mitre saw
  • wood glue
  • wood clamps
  • 1 1/4″ wood screws

Before beginning I have a small disclaimer. Although I love to build stuff my garage or side yard serves as a messy, primitive wood shop… so excuse the mess!

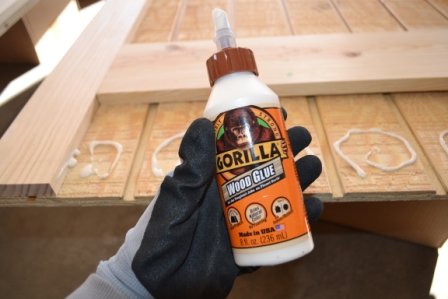
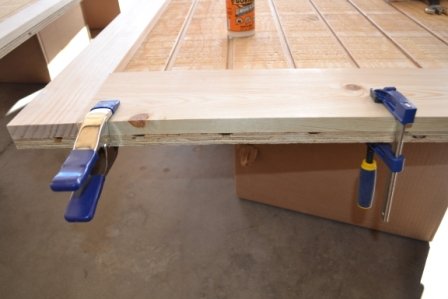
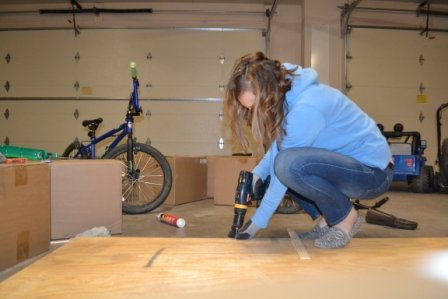
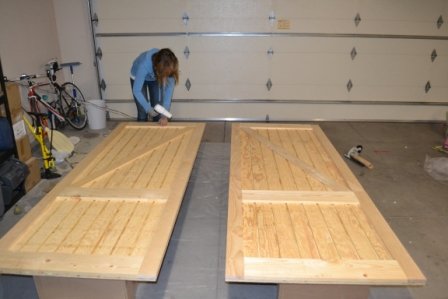
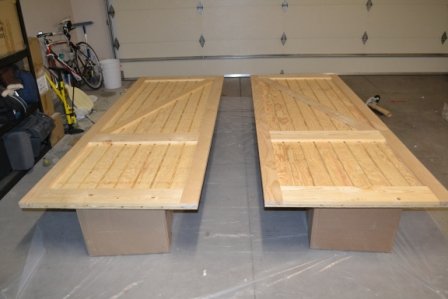
I started by cutting the wood siding at the hardware store to an exact 8’x3′ size. Then I built the frame on top, using the 1x4x8 on the vertical sides and the 1x6x8 cut into three horizontal beams. The best way to get wood to attach together is to 1. Glue, 2. Clamp 3. Screw.

crab shack doors wood glue crab shack doors clamping crab shack doors wood screws

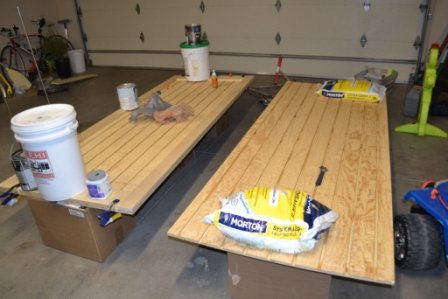
If you don’t have a bunch of wood clamps use heavy objects, big wheat buckets or salt bags have always done the trick for me.

crab shack doors, building, pressure

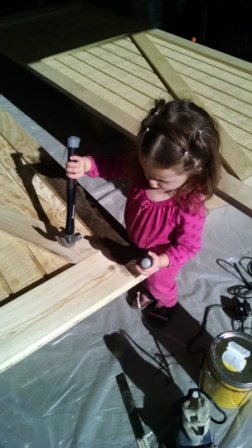
After adding the horizontal and vertical boards I added a diagonal one for the barn look. Clued, clamped, and let it dry overnight then flipped and sunk 1 1/4″ wood screws to the back. Of course, my best helper super helpful.

crab shack doors helper:

With the building done, it was time to prep and stain:

crab shack doors almost ready

In retrospect I wish I would have just hung the doors with bare wood. But, I was persuaded again by my husband. Prepping anything is my least favorite part of any project and usually I am just thinking “enough already, let’s just stain this baby and be done.” This is a great youtube video on how to prep your wood for staining. It’s kinda like watching a cooking show with all the materials ready to go, only with wood (which is way better):

I often clean wood in preparation for staining with a dry paint brush, tack cloth, and my hairdryer (my favorite trick)

crab shack doors blow drier trick

Finally the doors were ready:

crab shack doors ready to stain

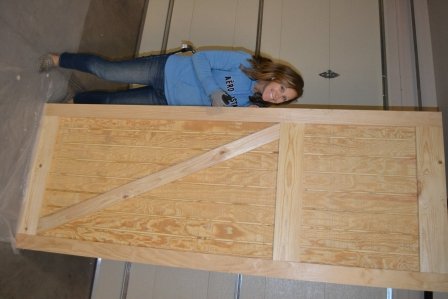
This is the part where the project went awry. From the moment I started staining I knew it was too dark. Then I felt like I would never be able to sand it off of the siding and have it look normal so I just kept going. I put on two coats and added a poly urethane protective coat. When I finally finished, I cried. The doors are beautiful and everyone I have shown raves about them, but for me they are different than this imaginary picture I had created in my mind and so they are still hard too look at. I hate when that happens. I’m sure it’s happened to you before, you get an idea of what you are going to create and then even when the projects turns out, if different than imagined, you’re disappointed.

crab shack doors ready to hang!

Ah well, they will be beautiful anyways. And next post, the BARN DOOR HARDWARE.

Happy Creating!

Crab Shack Progress. Busting Down the Double Doors.

Okay, we didn’t exactly bust down double doors. It was more like a sliding glass door and we didn’t really bust anything at all. You may remember my big plans for the crab shack. Well step one of about a zillion is complete. Check out this glorious gaping hole in my bedroom!!

I haven’t seen anything so spectacular in a long, long time. The random sliding glass doors that separated my room from the add on (lovingly called the crab shack in these here parts) are out and ready to go to Habitat for Humanity. Good riddens! If you are at all sad, don’t worry, there are three more sliding glass doors in the crab shack itself.

Honestly, this project intimidated me. I know, I know, everyone calls me hardware, but something about the large glass-ish doors in my pretty room scared me. So I called in the big guns. My bro Cody. He’s a contractor and he builds homes so pretty they make you cry. If you need a contractor in Southern Utah, he owns Rising Star Construction and you will thank your lucky stars if you get to work with him.

Crab shack doors, skill saw edges

I fully planned on learning the ropes in this project, but ended up doing super amazing tasks like cutting the caulk and finding a step stool. Cody did all the work with his skilsaw and sawzall. And my step stool.

With the doors down the next task is ordering new ones for the barn doors. Wahoo! The hardware has just arrived and it’s aaaaaaamazing… more on that soon. I also need to figure out how to case the door, find flooring, decide on paint…. I love these kinds of projects. (I’m completely serious!)

Happy Creating!