We can’t be the brain and the brawn all the time… have you ever convinced a friend or husband to help you push around heavy furniture only to get it where you wanted it to go and hate it? One evening not too long ago my bff and I pushed furniture around all night long and I would walk around the room murmuring, “no… no… no… okay, sorry but we have to move it again.” Followed immediately by his exasperated look and a forced, “okay babe, whatever you think.” I have never been one of those gifted people that can walk into a room and know exactly the best location for each piece of furniture. And now that we have a piano moving games just aren’t fun anymore (well, they are still a little).
Here is my solution. GRAPH PAPER. Or just trace or print some lines on a paper, but it they need to be to-scale. Then, cut out all the furniture pieces that need to fit and rearrange them birds-eye-view style. Measure and mark all door ways, entries, and window (especially if they are low and won’t allow furniture in front of it). Sometimes I’ll ask people what they prefer and I can rearrange all the pieces around on the paper without actually lifting or moving anything. Here’s an example of one that I used for my son’s bedroom:
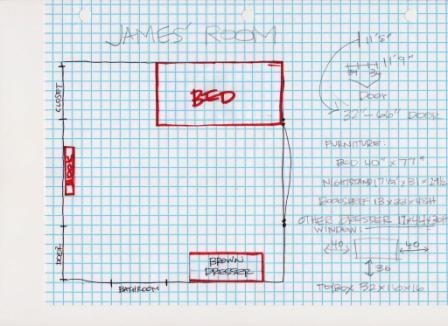
And here’s one I used for my family room:

For me it works, actually saves time, and I get a lot fewer eye rolls from the bff. I hope it works for you too!
Happy Creating!
So excited doesn’t even describe me right now. I have been scouring craigslist for almost two years for the perfect piano for our family. And I finally found just what I was hoping for:
Isn’t she beautiful!? Well… not yet, but she plays beautifully and her bones are good, which is exactly what I wanted.
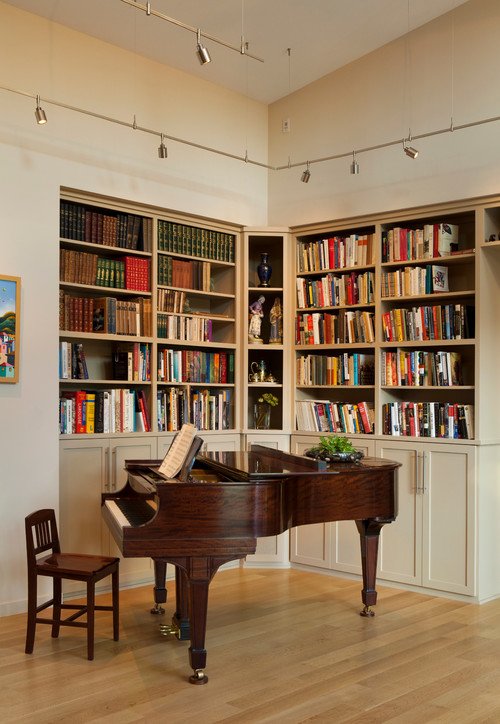
So, now that the piano is here, how do you decorate with it! In my dreams the space around a piano would look like this:
But coming back to reality, I have been doing some research and I wanted to pass on some guidelines and ideas:
1. Avoid extreme heat/humidity in the location. Like, don’t put it right in front of a huge window with blaring sun. Pianos are tanks for sure, but we all have our limits!
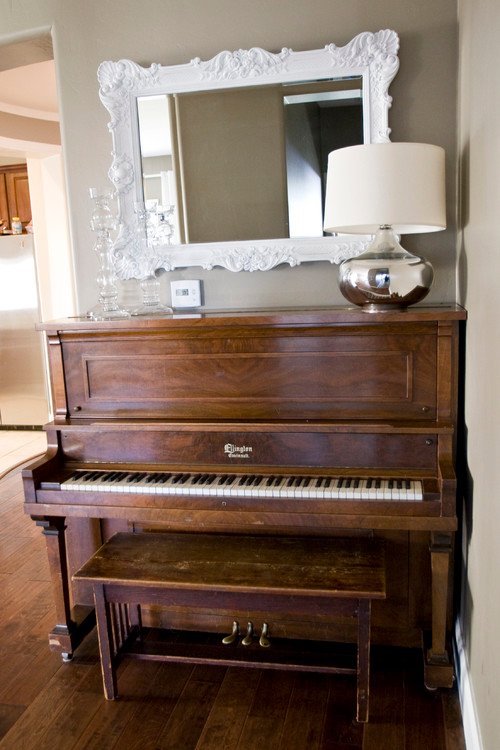
2. Make them part of the ebb and flow of the room, but be deliberate in the placement. Pianos are a distinction piece, but you want to make it work with the room. I love these from Apartment Therapy and Courtney Amado:

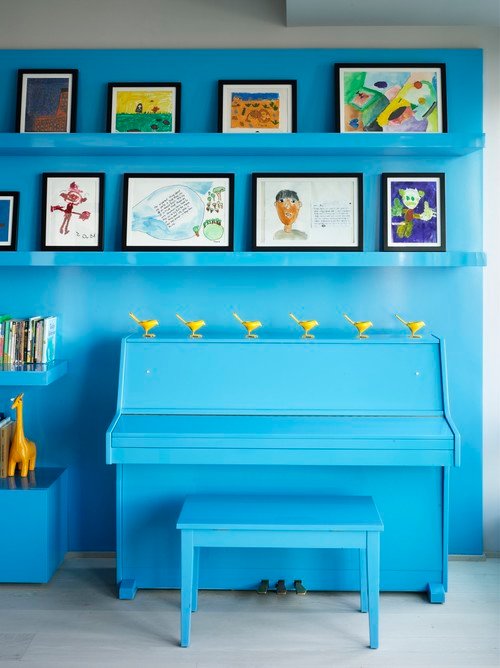
3. Pianos are big and are usually one color, so use a mirror or art above or even a pop of color somewhere else can liven things up:
4. I sooooooooo want to paint it! What do you think!? Have you ever painted a piano? From Design Mom I love this green piano:

I found this on Houzz and I am intrigued:
This is my exact piano, repainted by Rebekah at A Bit of Sunshine:
If I paint, I am thinking a deep, dark blue. What do you think?
Happy Creating!
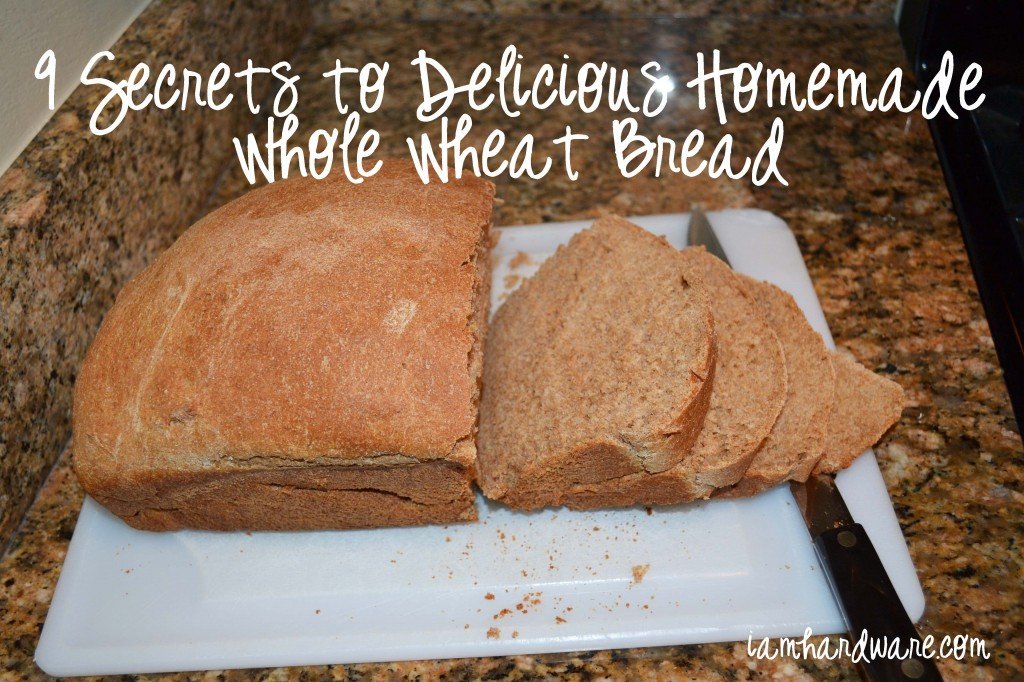 You might be wondering if your computer screen is breaking because I’m posting about cooking!? You actually did come to the right place, but I have a disclaimer. I really, really don’t like to cook. Like really. If you gave me a choice of cooking or cleaning a public restroom it would be a toss up. But, I cook every darn day for my family because I love them. I consider it my greatest domestic sacrifice.
There is one thing, however, I kinda enjoy (please don’t tell anyone). Homemade whole wheat bread. I’m not sure if I like eating it so much my taste buds cloud my non-cooking brain, but mmm… it just warms my heart. And it’s all my mother-in-laws fault. She is the best whole wheat bread maker to ever grace the planet earth. And I am not kidding. She has tried to teach me about six times the art, but this last time I took notes in my own words and now I am passing them on to you!
Here is the recipe with a few instructions. The secrets to whole wheat bread follow. This recipe makes 3.5 regular bread pan loafs.
- Combine 5 cups warm water (see secret 3 for how warm) with 2 tablespoons yeast and let it rise til it bubbles
- Add 2/3 cup honey, 2/3 cup oil, 2 tablespoons salt and 7 cups whole wheat flour
- Blend on medium for 1 minute
- Add about 5 more cups flour (see secrets 6 and 7 how to tell how much)
- Blend for ten minutes
- Let it rise for 1 hour then mix for 5 seconds
- Butter your hands and place into greased pans
- Cover and let it rise for 1 more hour
- Bake at 350 for 30 minutes
- Eat your heart out!
SECRETS
1. Grind your wheat. I don’t own a wheat grinder. I borrow them every time I make bread. For some reason the wheat you grind right before tastes the best, but if you don’t have the option, buy real ground 100% wheat flour (brand does matter here). The fresher the better.

2. Bosch. These are the best mixers for bread, something about the plastic bowl and the way it mixes. I don’t have own of these either! Ha! I borrow each time. If you have a normal size Kitchen Aid (like me) half the recipe above, or it won’t fit!
3. Pee-warm water. Getting your yeast to rise really only takes three things; good yeast, a little time, and water the temperature of pee. Too cold it doesn’t rise, too hot kinda burns it. Just remember, pee-warm. Give your yeast some time to rise. Also, combine your water and yeast in your mixing bowl, one less thing to clean. Always wait for the yeast to “bubble”, that takes about five minutes and it’ll look like this:

You’ll know later that you did this step right because in one hour of rising your dough looks like this:
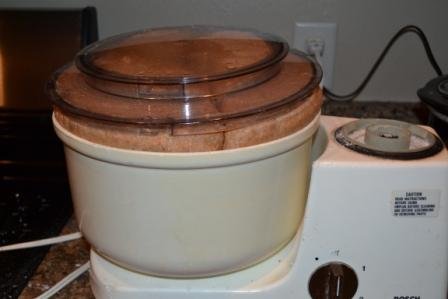
4. When adding the oil and honey, pour the oil into your measuring cup first then the honey. That way the honey doesn’t stick!

The feel. It drove me crazy when good bread makers would tell me that you know the dough is good when it feels right. What in the world is that supposed to mean!? My last tricks are how to know what that elusive feel is, in words anyone can understand.
5. The dough will start to pull from the side of the bowl when you’re mixing. NOT this, this is still too wet:

It looks like THIS (beautiful!):
6. Dough that is perfect will feel like brand-new play dough. Or really fresh taffy. Soft, a tiny bit sticky, and workable, that is the stuff delicious bread is made out of!
7. Avoid the old gum feeling. You know what gum feels like when you have chewed it for too long… hard and yucky. Well, if your dough feels like that it has too much flour and needs more water! Start by adding 1/4 cup of water and mixing… keep going until you reach the yummy play-dough feel!
8. Butter your hands. When you put your bread into pans, butter those phalanges and revert back to preschool for a moment and mold a bread loaf like you’re playing with clay. This is my favorite part.


9. After molding the bread loaves, cover it so your bread doesn’t dry out:
I have two sisters that live in this desert town with me and they won’t turn on their oven between Memorial Day and Labor Day! Well, Labor Day has past and Autumn is here (it’s cooling off to about 75 degrees) so the ovens are getting dusted off, and the whole wheat bread is melting in my mouth. It’s one meal (yes I serve this bread for dinner) that no one in my family balks at and they are actually excited to eat. Some hot bread, cheese, apples, and/or tuna and BAM instant happiness around here.
For all you bread makers out there please feel free to comment any secrets you may have. Come on, challenge those dough skills toward the greater good!
It’s no secret that storage solutions warm my happy heart. I love everything thing about my boys’ room, except for the small, simple closet. It has just one rod and it often looked like this:

Okay, so it looked like that all time time. I talked my bff into taking the kiddos on an afternoon drive and I headed to Home Depot to get some game on! Building shelves is easier than you might think. If you’ve been wanting more closet storage don’t walk, run your buns to the store and in a few hours you’ll be feeling spectacular.
Materials:
- Shelving board (my term for “Particleboard Bullnose Shelf”)
- Nail gun, or nails
- Caulk
- 3″ screws
- 1×3 wood (primed or not primed)
- Level, Stud finder
1. I bought two 8 foot shelf boards. They are strong, engineered boards with one side rounded, like this. You can find them at any home improvement store. An old secret is the hardware store will cut your board for free! Up to two cuts per board, but I never have been charged when I cut a few more. One cut should be the height of your existing horizontal shelf (if you have one), for me that was 6 feet. The other cuts are the width of the shelves and will all be the same.

The rounded edge, or the “bullnose” goes to the outside to make the shelf prettier. I unscrewed the clothing rod and re-screwed it into the side of the vertical board once it was set. I lost hang-up space, but gained tons of shelves and storage space. The board should fit snuggly against the wall and the top shelf in your closet, make sure it is level. A good tight fit gets you off to the right start. Don’t forget to saw space for the baseboard if you have one:

2. Use the 1×3 boards to frame out the shelving. Making this level is essential.

Draw a line on the back wall where you want each shelf to rest (remember that is the bottom of the shelf and the board itself is 1 inch thick). I built my shelves to fit the storage bins I already had, 16″ high. After marking the shelving lines attach the 1×3 to the back wall first with 3″ screws into the studs.

3. When the back 1×3 are attached, follow the height to the sides and attach a support on each side.


4. With the vertical divider up and supports attached lay the shelves on top and secure them down with a nail gun, or nails (screws work too, you just don’t have a lot of space to work with) Important: You do NOT want your shelves super tight, you want a little wiggle room (like 1/8″) so the walls can swell and move but your shelves won’t bow. The space between the wall and the shelf should be filled in with paintable caulk.
5. Last step! Paint and organize that newly found delightful space, then probably eat a cookie, you deserve it!

Happy Creating!