The table is done! Check it out here.
I spend more time in the kitchen than any other room in the house. Not only do I cook and clean for my family of six, but the table is the hub of homework, projects and my laptop. I’m thinking I am not alone in feeling like I live in my kitchen. I was given a solid oak table from my aunt nine years ago that although not my personal style it was in great condition and I was always grateful for it:
After years of beating (and three boys) I decided to refinish the table:

I wanted to try to refinish it without sanding too much, so I used Polyshades. I had used this product on other projects like my blessed frame and super cool train table. I was happy with the result but have discovered that the finish should not be used for high traffic, abused areas like our kitchen table. The wood doesn’t drink it in and in the end chips and peels. This is what it currently looks like:
No esta bueno. I just don’t have it in me to drop thousands on a table when I have solid oak right at my fingertips. Project for this week (and on my 2014 list) is giving this never-say-die table a facelift. I found a great tutorial on Centsational Girl and I plan to paint the table. After trying to talk myself out of it for a few days (because I can’t exactly figure out why I chose this color) I can’t shake the urge to paint this beauty YELLOW.
Maybe it’s the winter. Maybe it’s my latest chair project. Maybe it’s a thirties-age-crisis that is emerging. Or maybe it’s because I am swimming in blue and brown. Whatever it is, stay tuned for an old table that is disguised as an early spring.
Happy Creating!
My grandmother used to say, “people that say money can’t buy happiness don’t know where to shop.” Well, I say people that say money can’t buy happiness don’t know what color of spray paint to buy. My kids officially call this the “happy chair”. Is it a display piece? Nope. Is it my favorite chair in the world? Uh uh. Does it match the rest of the house? Not really. But, does it make me happy? Totally!
It has been a cold, cold, winter. Even for my desert town. We had the biggest snow storm in 30 years and there is still snow on our grass! I needed something to brighten up our world. I was given two old chairs a year ago when an office was doing a remodel, they look very office-y. (Don’t judge me by my messy garage! It’s on my to do list!)
I didn’t think they were terribly attractive, but they are in great shape and you can almost bet when someone offers me something for free, especially furniture, my answer will be yes. The chairs sat in our garage since they were dropped off and were used when putting on shoes, a shelf for oranges, or whatever. But mostly they just sat there.
Materials:
- fabric
- old chair
- spray paint
- staple gun
I bought 1/2 yard of upholstery fabric on sale from JoAnn’s. I used only part of it, so the fabric was $4. I let my five year old pick out the spray paint with the only parameters of, “it needs to be a color on this fabric and it needs to make you happy.” I already knew he would pick yellow, or “gold” as he calls it. Rustoleum Ultra Touch is one of my favorite kinds of spray paint and at Wal-mart it is only $3.77. For the record I do feel bad about painting over nice wood, but considering this wood was chipped anyways I didn’t have much remorse. The project cost a little less than $8.
If you have never recovered furniture, this type of chair is the easiest project in the world and a great place to start.
1. Remove the seat. It is usually screwed to the chair on each corner, turn the chair upside down and unscrew, the seat will fall out.
2. Cut then staple your fabric on. Usually I take the old stuff off, but this fabric was really clean, so I just saved the step and wrapped over the top.
3. Paint the chair (or not!), you’ll need a few coats:

4. Replace the cushion and done. So easy, took only about an hour.
Originally I planned to use the chair in my master closet, but the boys love it so much it is usually found by the piano and I use it when the boys are practicing. It’s nice to have a use-anywhere-for-anything chair. And for eight buckaroos there is a burst of spring during this gloomy winter!
Before and After:
Happy Creating everyone!
When was the last time you saw the cost of foam at the fabric store!? Highway robbery! So even though the treehouse needed some floor cushions, I wasn’t about to pay $40 for just a foam insert. Then I found some outdoor furniture mix-match cushions on clearance for 8 smackers. I took out the cushion (and saved the heavy duty fabric for a future project) and found tree-themed fabric to recover with:
The next step was to cut down the foam and puzzle it together so one cushion could make two and I discovered cutting thick foam is a total pain. You are going to love this, cut it with you electric knife… those babies aren’t just for Thanksgiving anymore! I cut through in like 10 seconds and I loved using that darn knife I store all year long and I think I have used twice. It worked like a charm:
I followed the same steps of previous sewing projects, such as this pillow and added some handles on one end so the kids could move them easily: 
With my electric knife and my sewing machine we ended with some pretty awesome cushions.
I hope you have some great weekend projects planned!
Happy Creating!
So excited doesn’t even describe me right now. I have been scouring craigslist for almost two years for the perfect piano for our family. And I finally found just what I was hoping for:
Isn’t she beautiful!? Well… not yet, but she plays beautifully and her bones are good, which is exactly what I wanted.
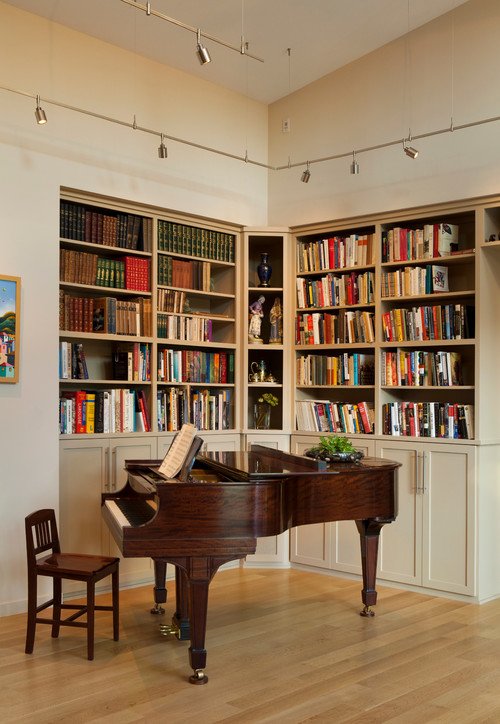
So, now that the piano is here, how do you decorate with it! In my dreams the space around a piano would look like this:
But coming back to reality, I have been doing some research and I wanted to pass on some guidelines and ideas:
1. Avoid extreme heat/humidity in the location. Like, don’t put it right in front of a huge window with blaring sun. Pianos are tanks for sure, but we all have our limits!
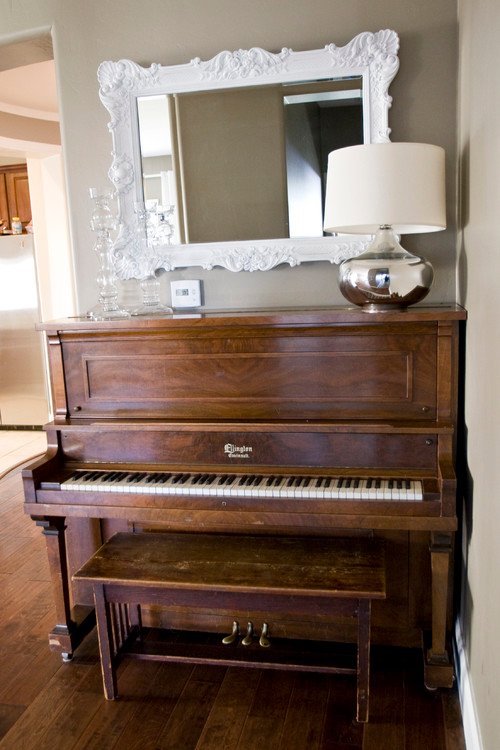
2. Make them part of the ebb and flow of the room, but be deliberate in the placement. Pianos are a distinction piece, but you want to make it work with the room. I love these from Apartment Therapy and Courtney Amado:

3. Pianos are big and are usually one color, so use a mirror or art above or even a pop of color somewhere else can liven things up:
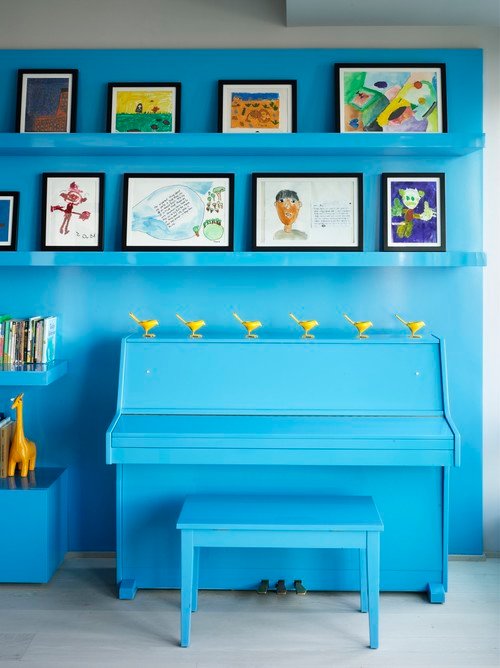
4. I sooooooooo want to paint it! What do you think!? Have you ever painted a piano? From Design Mom I love this green piano:

I found this on Houzz and I am intrigued:
This is my exact piano, repainted by Rebekah at A Bit of Sunshine:
If I paint, I am thinking a deep, dark blue. What do you think?
Happy Creating!