Why have I always been afraid to sew with piping!? Who’s with me on that? Piping (or welting) gives pillows that extra professional umph and is worth the few extra steps, and really, it’s not scary at all! I recovered some green lumbar pillows and I’m loving them. This tutorial isn’t just for a lumbar pillow, you can adjust the supply numbers below for your specific pillow form size. The before and after:


Supply list:
12×20 pillow insert
yardish of fabric
84″ of cording/welting
Matching thread
Sewing machine
I used this fabric on super easy envelope pillows I made for my bed, it’s medium weight, easy to sew with, and I dig it. (Yes, breaking a design rule to use the same fabric in two rooms, but I don’t keep a lot of those rules anyways.) I always make the pillow cover smaller than the insert (take an inch off each side) so the pillow looks really full and this time around I had barely enough fabric left over from a remnant piece, so I’m just going to mash those babies in there.
1. Cut out front and back pieces. If you’re using a pattern be careful to line the sides up.
2. Make the welting. True piping uses fabric cut on the diagonal, like bias tape. If you just cut straight pieces (like I did) it won’t roll on the corners perfectly, but I’m okay with that. With the right side out pin the fabric around the welting. My welting is thick and cut a 2″ piece of fabric to wrap around. If you don’t have enough length, sew two pieces together to continue. A word about piping: you can buy it pre-made but it is expensive and comes in solid colors. If you want it to match, you’ll have to sew it yourself.


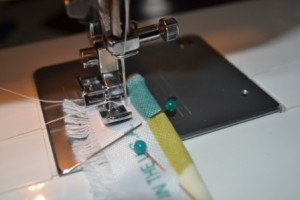
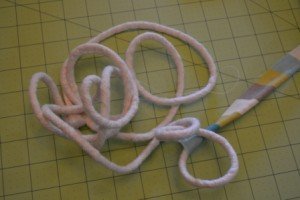
4. Attach piping to pillow fabric. Use one piece of pillow fabric right side up and pin welting around the outer edge of the pillow with the frayed edges to the outside. Begin at the middle of the bottom and work your way around. To keeps the corners smooth and laying flat, cut a few snips out of the welting. At the end make an X with the two pieces of welting, crossing the ends over each other, this will keep them from fraying.


5. Sew welting to fabric. With just one of the two pieces of pillow fabric start sewing at the bottom (where your welting criss crosses) and go all the way around.


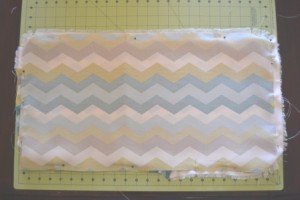
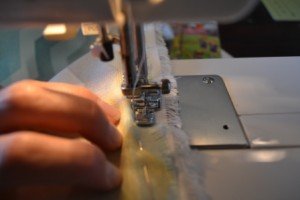
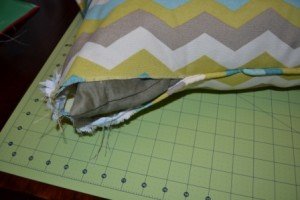
7. Turn the pillow case right side in, put in the pillow form and stitch closed.
Ta da! I’m drooling just a little bit. My ultra brown living room isn’t so brown anymore… I am so loving these pillows!

Happy creating!
Great tutorial! I haven’t been brave enough to try a pillow with piping yet, but maybe I will with this. Thanks Hardware.
I so wish I found your tutorial two mohnts ago when I found a similar chair at a local thrift store without the back for $25. I’ve been sewing forever but couldn’t figure out how to reupholster the back so didn’t buy it. I went back today after reading your tutorial but alas, the chair was gone. Darn it. Oh well, I will bookmark this for the next chair I find.