Archive of ‘Upcycling’ category
I bought this dresser on craigslist for $125. It was in good condition, all the drawers worked and I like the size and shape of the piece, so it was worth it. What needed help was the bla color and the wood veneer that had been pulled off and warped by stickers and water damage.
BEFORE:


My girl is so cool. With three older brothers she is still a girly girl, with a little twist… and we love it. She loves pink and airplanes and sharks. So, instead of painting the wall, we’re painting the furniture PINK. I chose this “Reverie Pink” from the Pottery Barn Collection and had it mixed at Sherwin-Williams. Because I’m painting the dresser and bed in the same color I bought a gallon, if you’re doing one piece of furniture one quart will be plenty.

I am following the same steps I used when I repainted my yellow table, check out that tutorial for more details. The process really is basically Clean.Paint.Dry.Sand.Repeat. over and over.
- Prime the table, two coats
- Paint, two coats (or three)
- Apply protective coat (one or two coats)
Materials:
- Paint brush (Purdy is my favorite!)
- Primer, I like the Zinnser
- foam brush for primer (cheaper)
- Paint
- Rags
- Drop cloth
- Protective layer: I used Helsman semi-gloss
- New knobs, if desired

AFTER

The pink was darling, but the knobs were big and bulky. A good way to dress anything up is a little sparkle. I bought 40mm drawer pulls on sale for $11 and they really finished the piece.
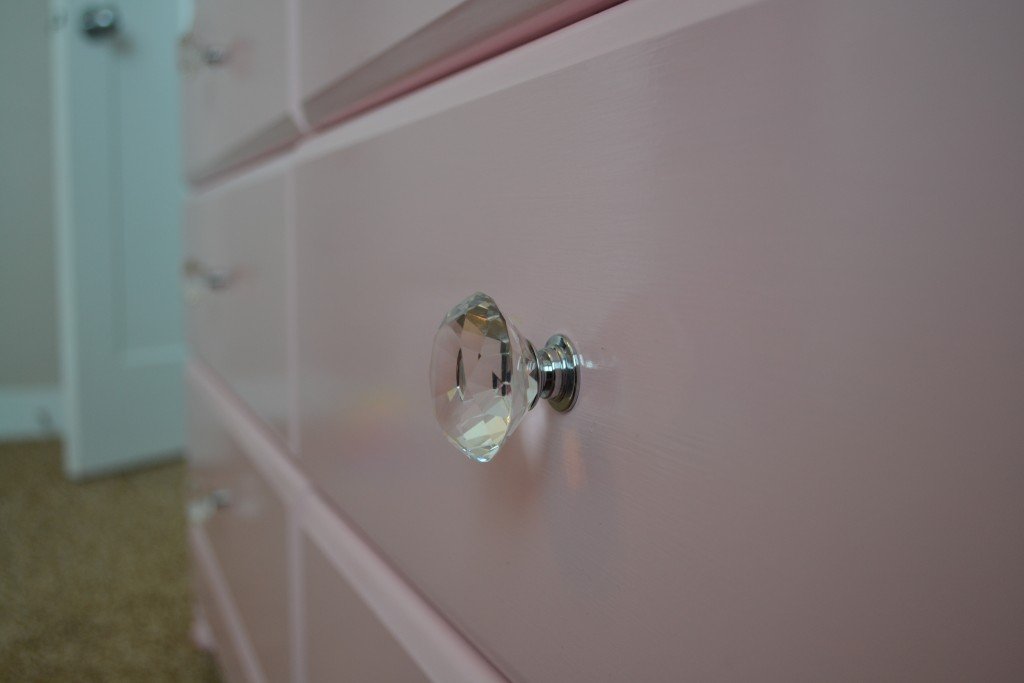
And no more damage or warping:
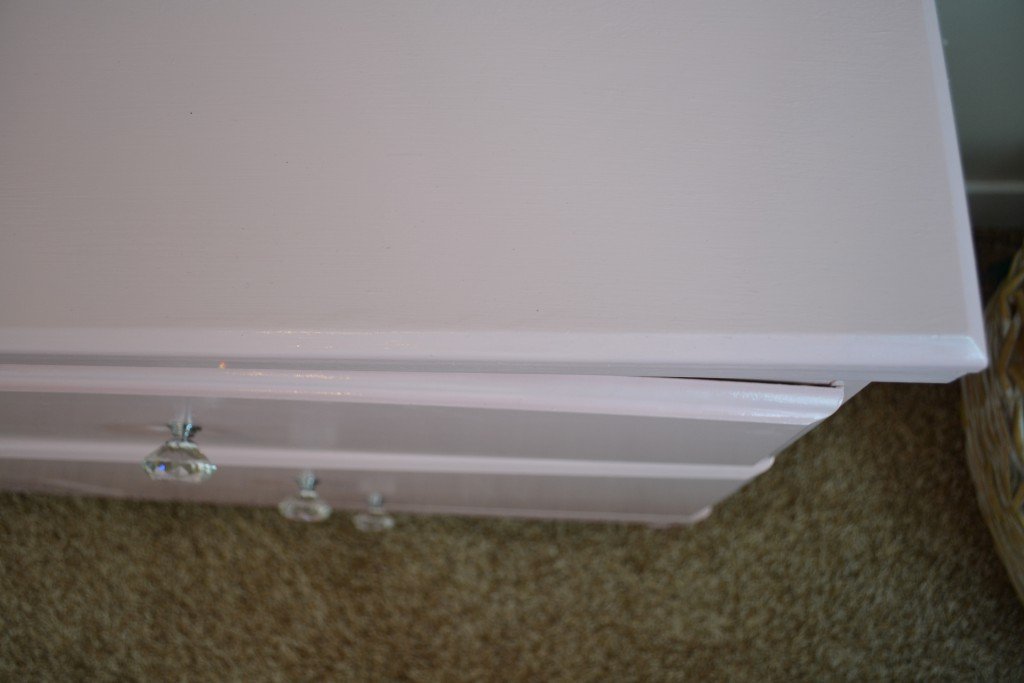
It is clean, sparkly and pink. Love it!

Happy Creating!
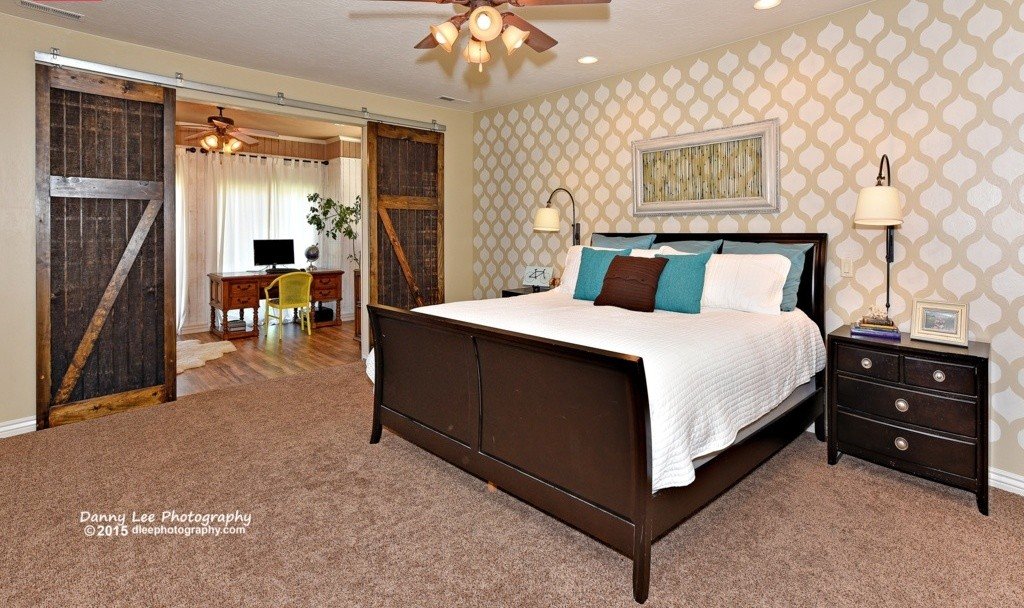
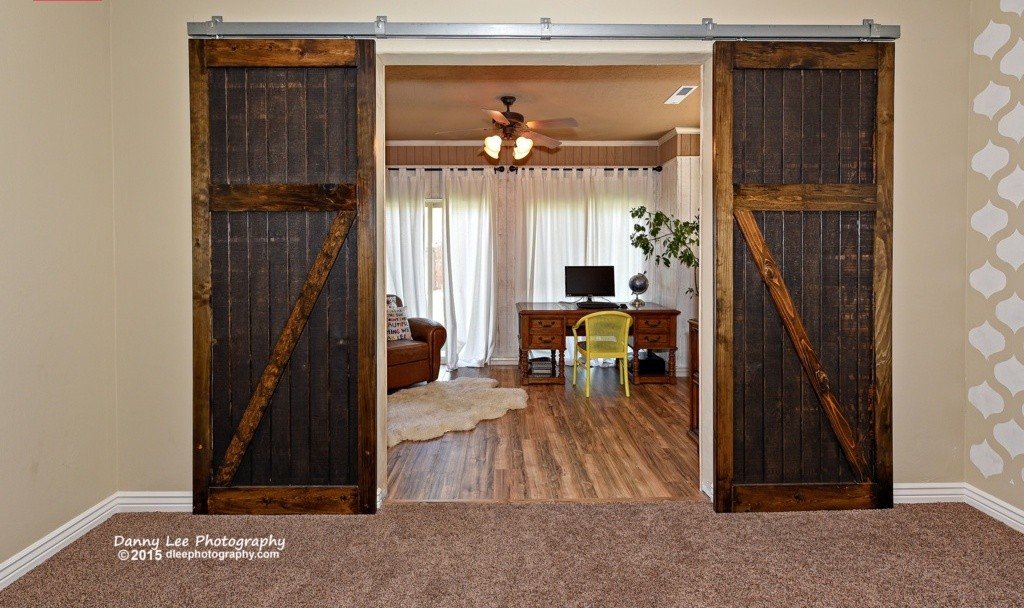
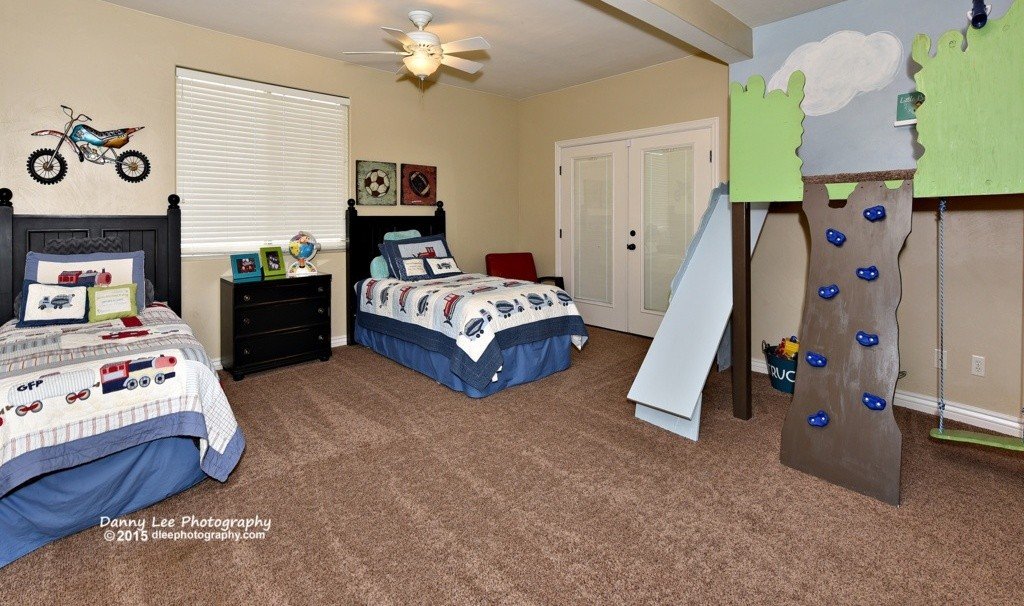
I bought a short sale home three and a half years ago in beautiful St. George, Utah and changed sooo much about it. I didn’t love the house when we bought it, but I loved the neighborhood, school, and the pool. With a pool in the backyard who cares what the house looks like, right? After many projects I loved every corner of those four walls and I feel broken-hearted to leave it. It was far from perfect, but it was home. These pictures are from the home listing and are a little sterile, but are the best pics I have.
My favorite room in my house, and the room I miss the most, is my master bedroom and crab shack. I literally changed every inch of that room from ceiling to floor, except the ceiling fan I would never give up those blessed contraptions.
My favorite project was definitely the tree house in the boys’ room. My kids used it daily and still talk about it. I’m trying to find an equivalent to the tree house here, but I haven’t settled on anything yet.
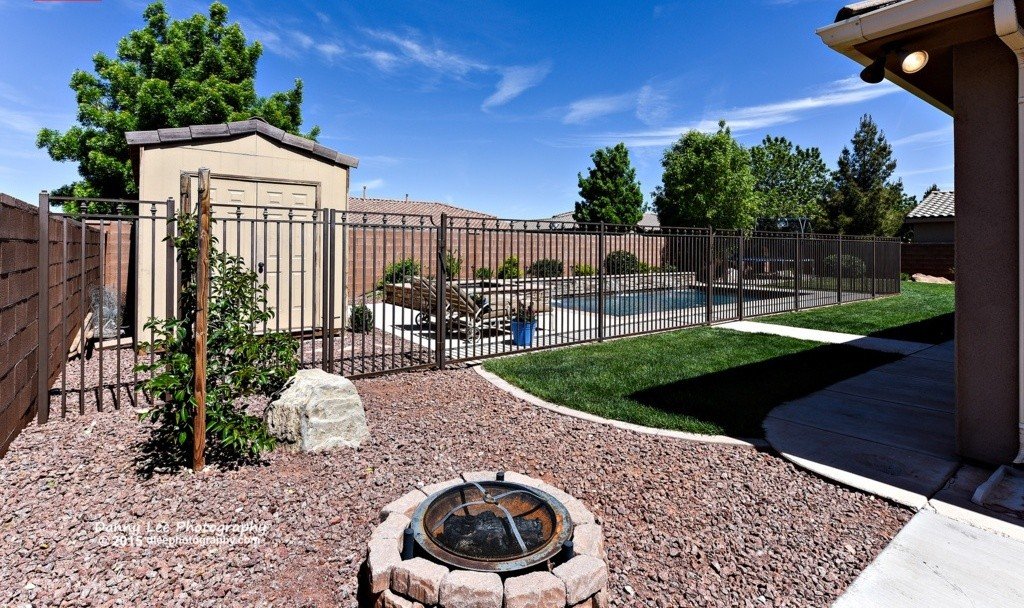
Curb appeal went way up in this house, which was awesome to do because I love working outside. And the pool! Oh, I loooooved that pool! Here are a few of the outdoor projects:

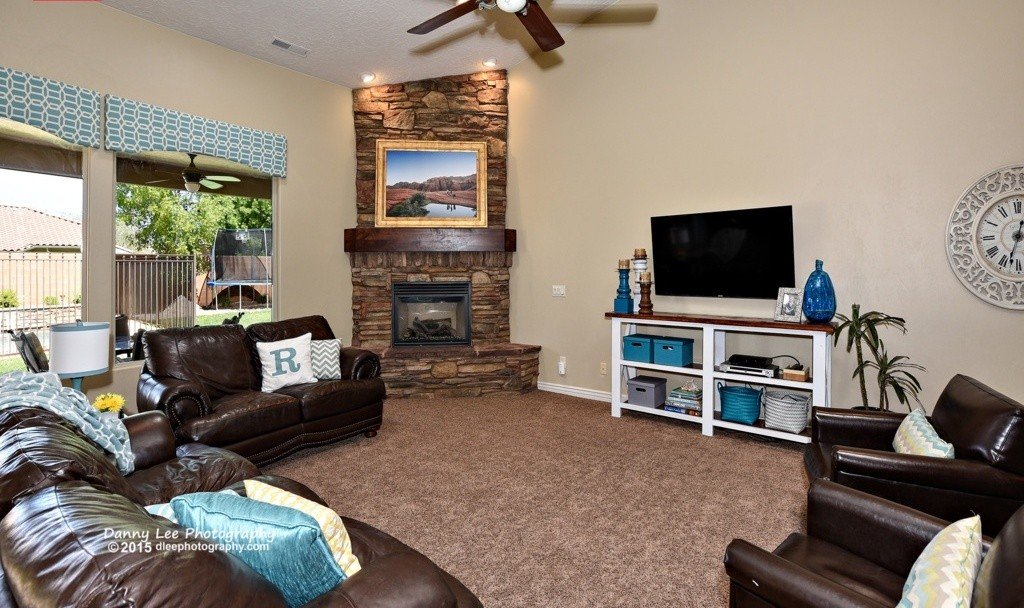
Many of the projects in the family room I haven’t posted yet, like the media table I made with Ana White plans, the update on the window covers, or the best family portrait ever… that is to come. But, here are some:
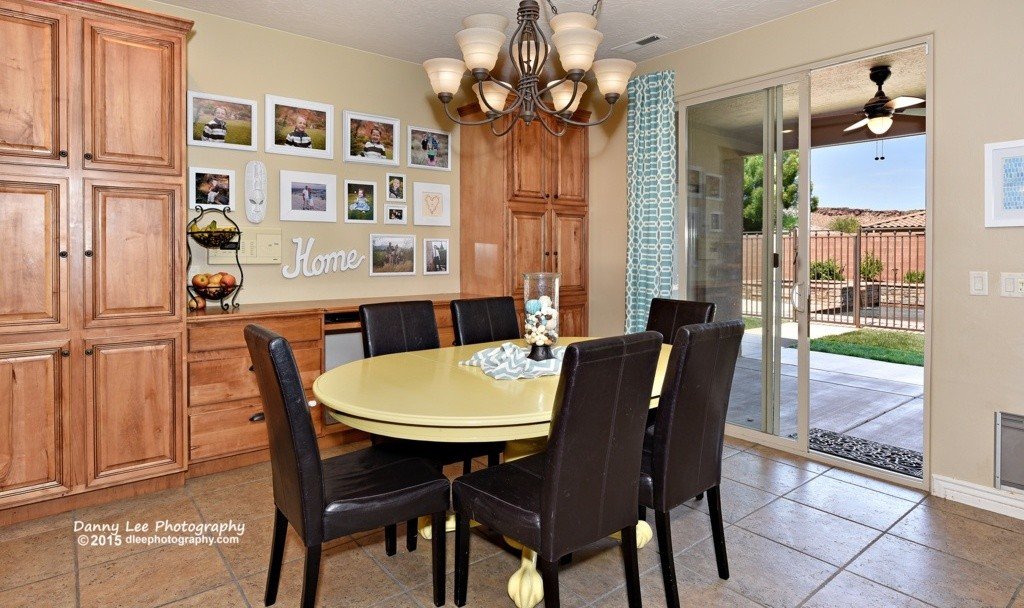
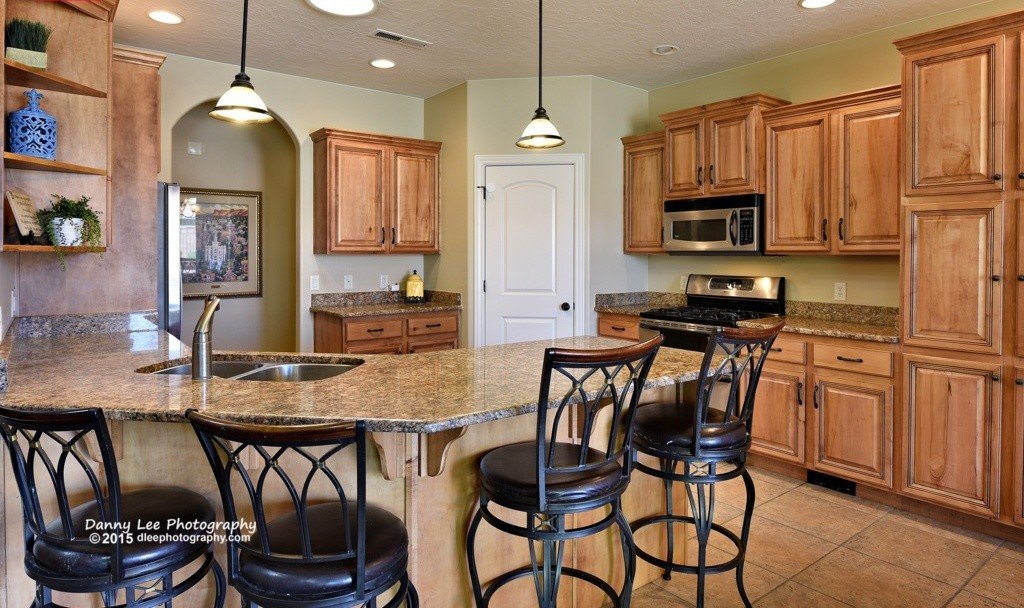
I always wanted to paint the kitchen cabinets, but couldn’t get a thumbs up from the hubby. Maybe because there were a jillion cabinets, which was awesome and we both love wood. Still, I had have fun in the kitchen:
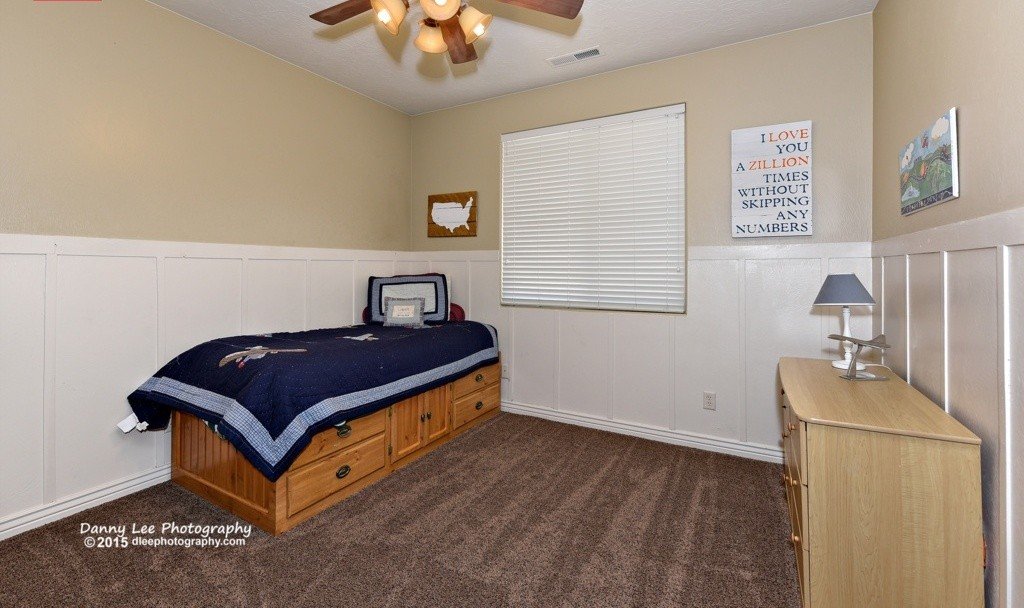
The third bedroom changed over the years and became such a happy place:
Soon I’ll post the progress on the new house. Hopefully it will become a home to us one day soon!
Have a great weekend and happy creating!
I think I have shared enough embarrassing and messy photos of my house that my master closet shelves should be no shocker:
 And that was after I cleaned it a little. It has been on my list for a while, and for organizing closets for some reason always seems to be the last thing I want to do. I feel lucky that my closet is big enough to be a room and that there are ample shelves, but, honestly, I am not really a clothes girl (don’t gasp!).
My first inclination was to buy baskets, but although very cute I needed about nine or ten, which would be more than $150. So of course, I needed a better option. Well, a while ago I hit the JACKPOT at a garage sale. I thought I was buying a roll of butcher paper for two bucks and at home I discovered it was actually VINYL! Score!!! The possibilities are endless, and it was perfect for this project.
Materials: vinyl (or contact paper), scissors/box cutter, pen, boxes (same size), labels. I bought labels at Michael’s with, of course, a 40% off coupon so this whole project cost around $4. Awesome.
First, cut the flaps off the boxes:

Then, pull off the tape so it doesn’t make the vinyl bumpy:

Wrap the box with vinyl, and fold down extras on the inside (I didn’t cover the inside because the boxes are totally for storage and it doesn’t bug me)


Add label stickers and about an hour later my closet looked like this:


Bloomingdale’s? Nope, not even close. But hardware good enough for sure!
Happy Creating!
I spruced up my home exterior recently, but our front door although repainted looked lonely. And boring. I really wanted some artificial topiary trees but my bff hubby is adamantly against the idea. I have had pots and flowers by the front door before and in the summer when the 110+ degrees come scorching in it is a sad end to flowers and plants. It seems like the three options are no plants, dead plants, or artificial plants… really the latter is the lesser of the three evils don’t you think? I guess I have one more year to prove my theory to my husband, so I might as well do it in style.
I don’t often find anything great at our thrift store, maybe the town is too small, or we don’t donate enough, but Monday I was taking loads of stuff after cleaning out the garage and there were these two beauties in the yard:

Metal. Matching. What’s not to love? I claimed them on the spot. $5 later my bff was wondering why I donated a few boxes, yet brought more stuff home. I assured him they would be awesome when I was done. The hardest part of the project was deciding what spray paint to use. Until I realized our walls are two-toned, why should they have all the fun? I decided to paint blue on top and my favorite oil rubbed bronze on the bottom (I have used the bronze in many projects like this and this)

I cleaned, treated the rust, and spray painted blue, taped off the top and then covered with bronze. This is the first time I have used Valspar spray paint and I was not impressed. It was hard to push and didn’t seem to go on evenly. I can say though that the color was great and really true to the paint lid even after on the planters.


My favorite cheater trick from this project is stretching the good soil when planting… I usually don’t want to use really good soil to fill a pot when the roots just don’t go very deep (and it costs money, yuck.) I usually use any dirt I can find to use at the bottom and even fill the bottom with used plastic bottles, milk cartons, whatever, to take up space:

The front porch looks so much happier:


in part due to my awesome ever-present helper:


Happy Creating!